1/4 tsp calcium chloride dissolved in 1/4 cup water
1 tablespoon non iodized salt.
Directions
Add buttermilk, milk, and cream to pot stir to mix then heat to 90 degrees F.
Sprinkle cultures on top and let set for 5 minutes
Stir cultires into milk, cover and let set for30 minutes, temperature should be maintained at 90 degrees.
Add in rennet store for 1 minute and let set for 2 hours
Cut the curds into 1/2” cubes. I could not get a clean break, probably due to the buttermilk and possibly not enough rennet so I increased the amount of rennet for this recipe. Let set for 5 minutes after cutting curds.
Now since I didn’t get a clean break, I lined a colander with a butter muslin and put in the sink and spooned the poorly set curd into the lined colander, let it drain for about 5 minutes, then gathered together opposite corners of the butter muslin and hung it over a pot to drain for about an hour. If you get a clean break you can let the curds rest for 5 minutes, then gently stir for 20 minutes trying not to break them up. Then spoon the curds into the butter muslin lined cheese mold.
Remove the drained curd and break into 1 inch pieces and put into a 6” cheese mold lined with cheese cloth, put the follower on and press with 5 lbs of weight for about 30 minutes. The cheese will be draining so put it into a pot or cake pan with a bowl turned upside down inside to raise it off the bottom, out of the pool of whey that will form.
Remove the cheese, empty whey from pot, unwrap the cheesecloth and flip the cheese and put back into the mold without the weight or follower and let set for 2 hours.
Remove from the cheese mold and repeat the flipping and re-wrapping with the cheesecloth and putting back into the mold. Let set for 12 hours (or overnight).
The next day if the cheese is firm enough you can remove the cheesecloth and flip and put back into the mold without the cheesecloth. Let set for another 12 hours, flip cheese again and if it is firm enough now you can set it on a cheese mat (I use a sushi rolling mat) in the pot inside the pot elevated out of any whey pool that will form and let set for another 12 hours (or overnight) and flip again. Let set out in room for 3 more days, to let cheese mostly drain flipping cheese every 12 hours. After 2nd day smooth over any holes on the outside surface of the cheese with a butter knife and then distribute salt evenly over the surface of the cheese. It will penetrate the cheese during the aging.
Now we will create the passages for oxygen to get inside the cheese to form blue mold inside by taking a clean skewer and inserting it from the top of the cheese to the bottom gently to create holes. I put about 20 evenly spaced holes
Now put cheese inside of a ripening box. Mine is a vegetable storage container with an strainer like insert that raises the contents off the bottom so any liquid that forms on the bottom doesn’t come in contact with what you are storing inside and a lid to seal it. Now put the storage box in the cheese cave (mine is the vegetable drawer of the fridge that maintains about 55 degrees F). Leave this in the ripening cave for 3 weeks, Flipping the cheese over once a day removing any condensation and liquid on the bottom of the container. It should have a blue mold form covering the surface of cheese after about a week. This mold covering may slip while you are flipping it so be very gentle to keep it in tact.
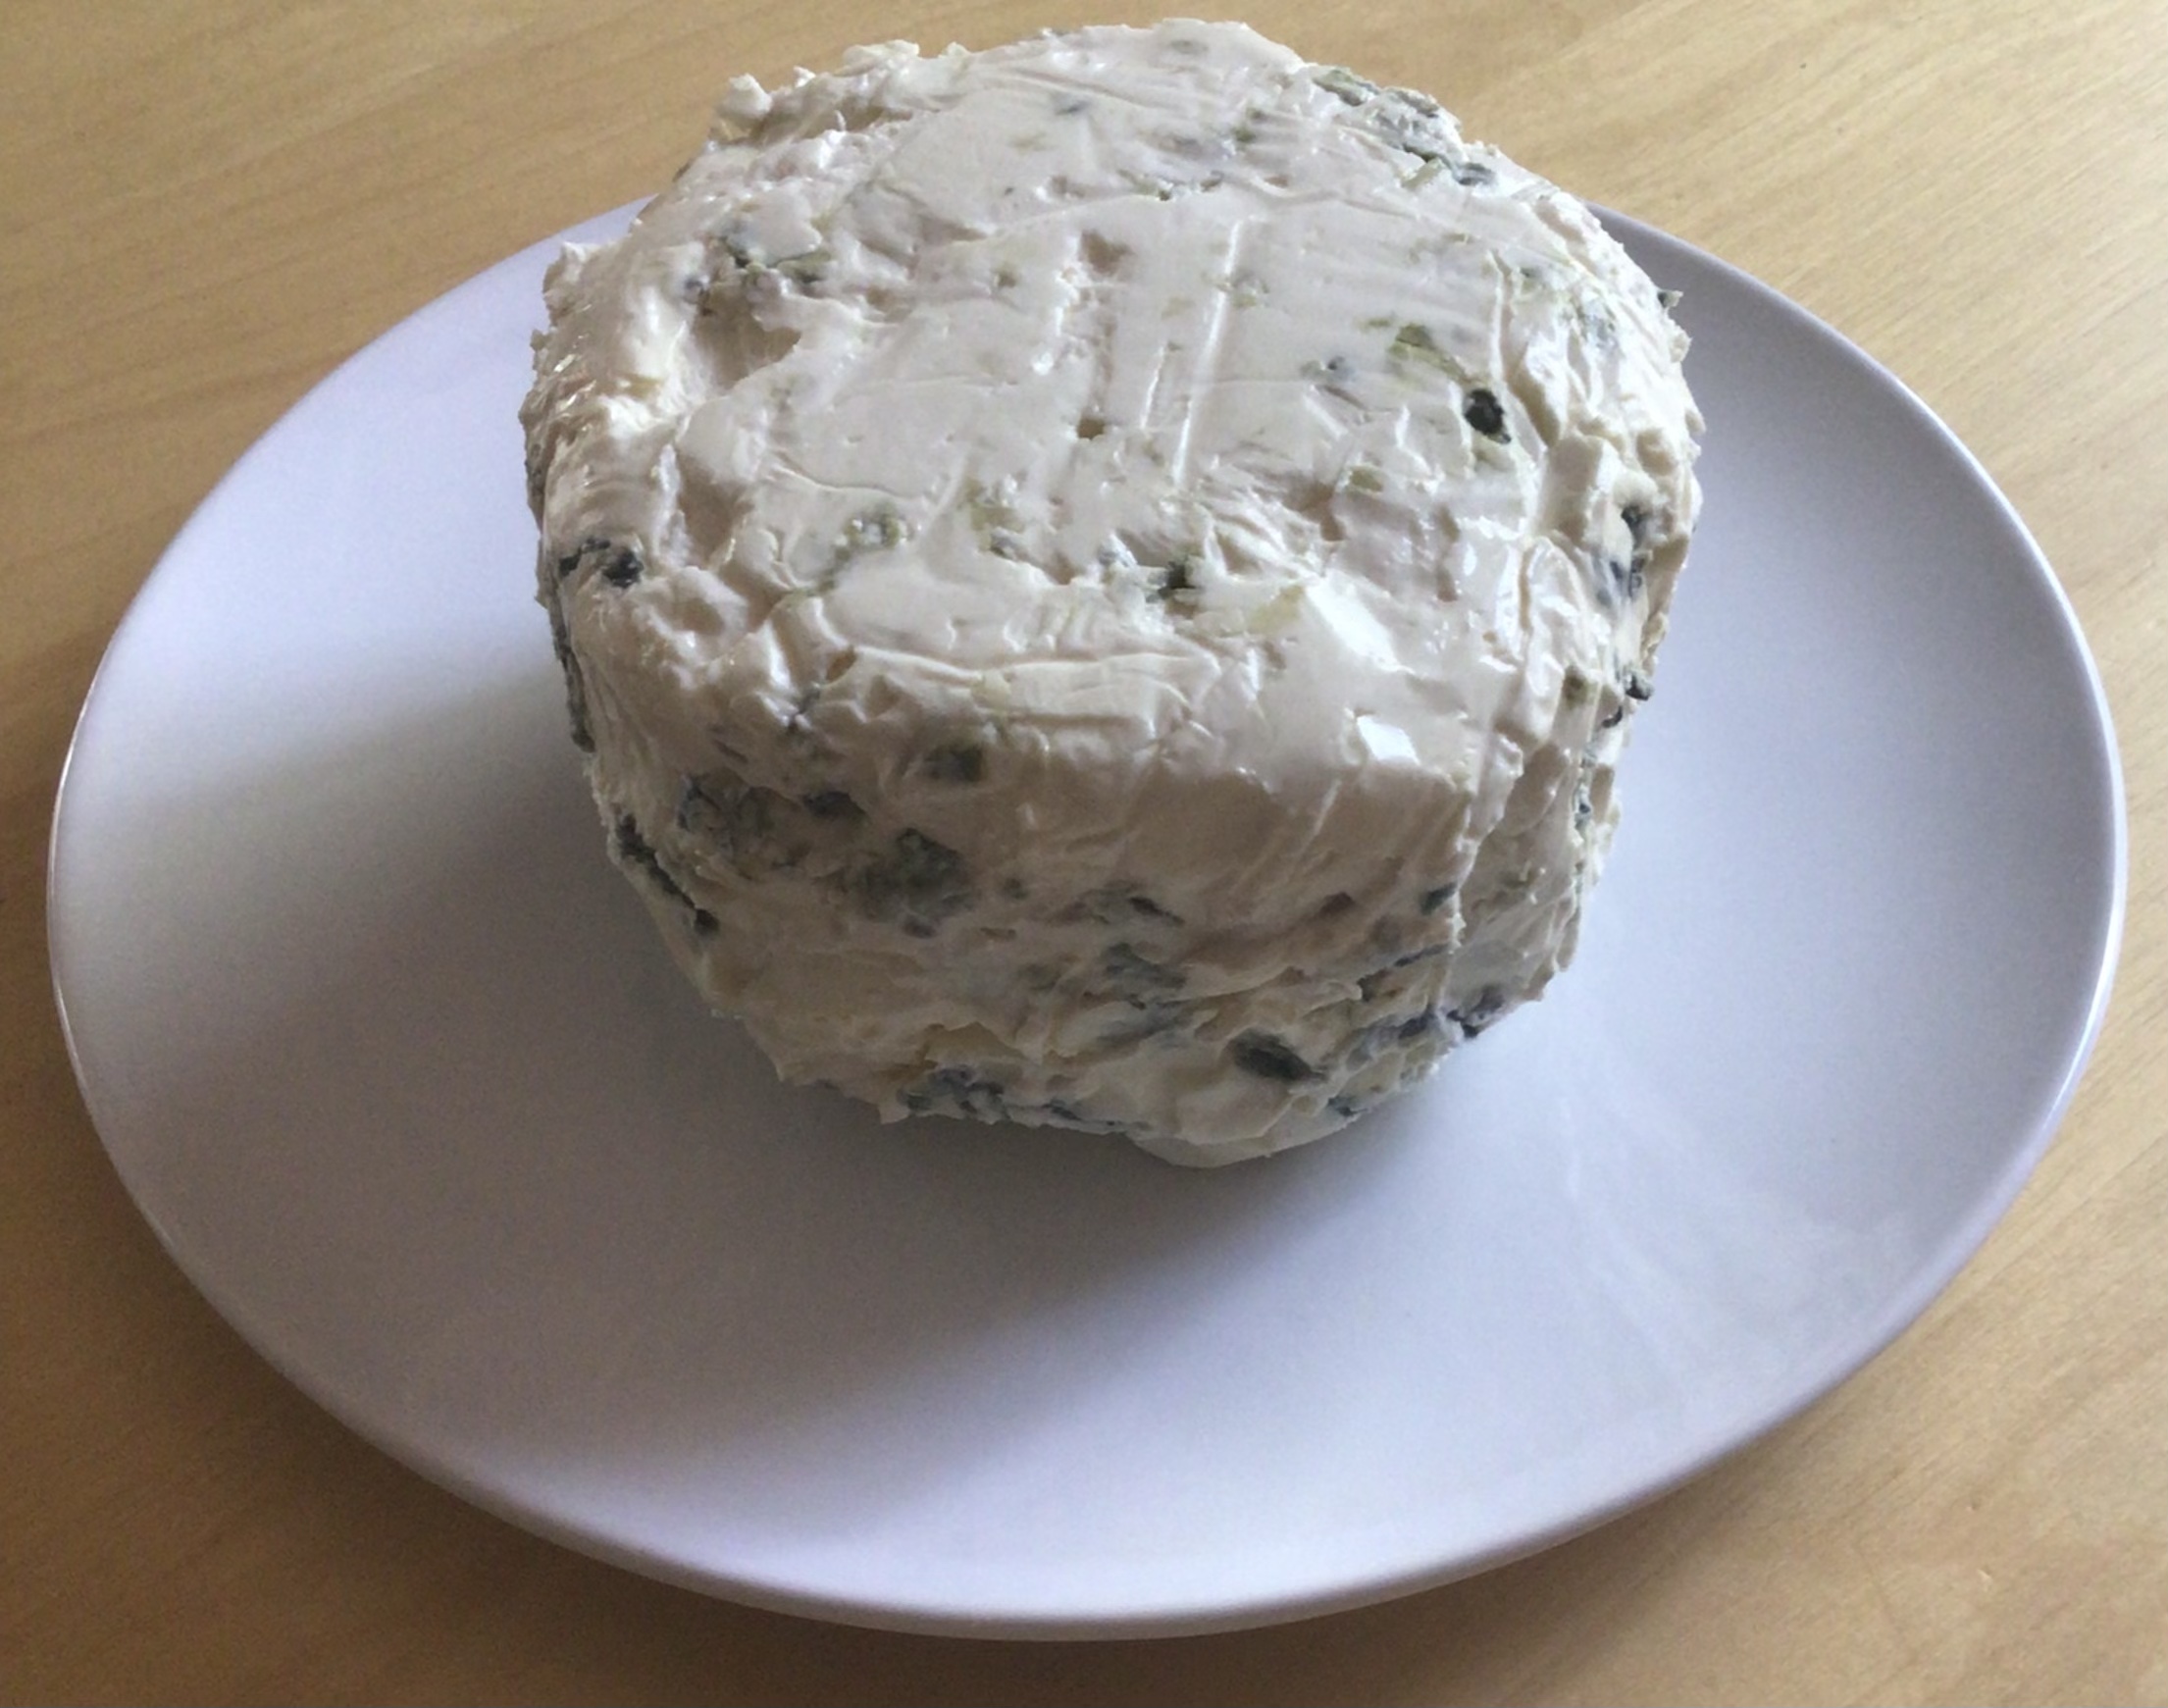
Remove the cheese from the cave now and gently using a flat blade scrape most of the mold off the surface of the cheese leaving little spots here and there. Be careful to just remove the mold and not the cheese.
Wrap the cheese in foil and store in the fridge (not the cheese cave) for 3 more weeks to mature.
After the 3 weeks in the fridge the cheese is ready to eat. You can cut in half and re-wrap one half and put it in the fridge and use the other half to eat. The half you are eating can be wrapped in plastic wrap instead of the foil since it won’t be stored for too long.