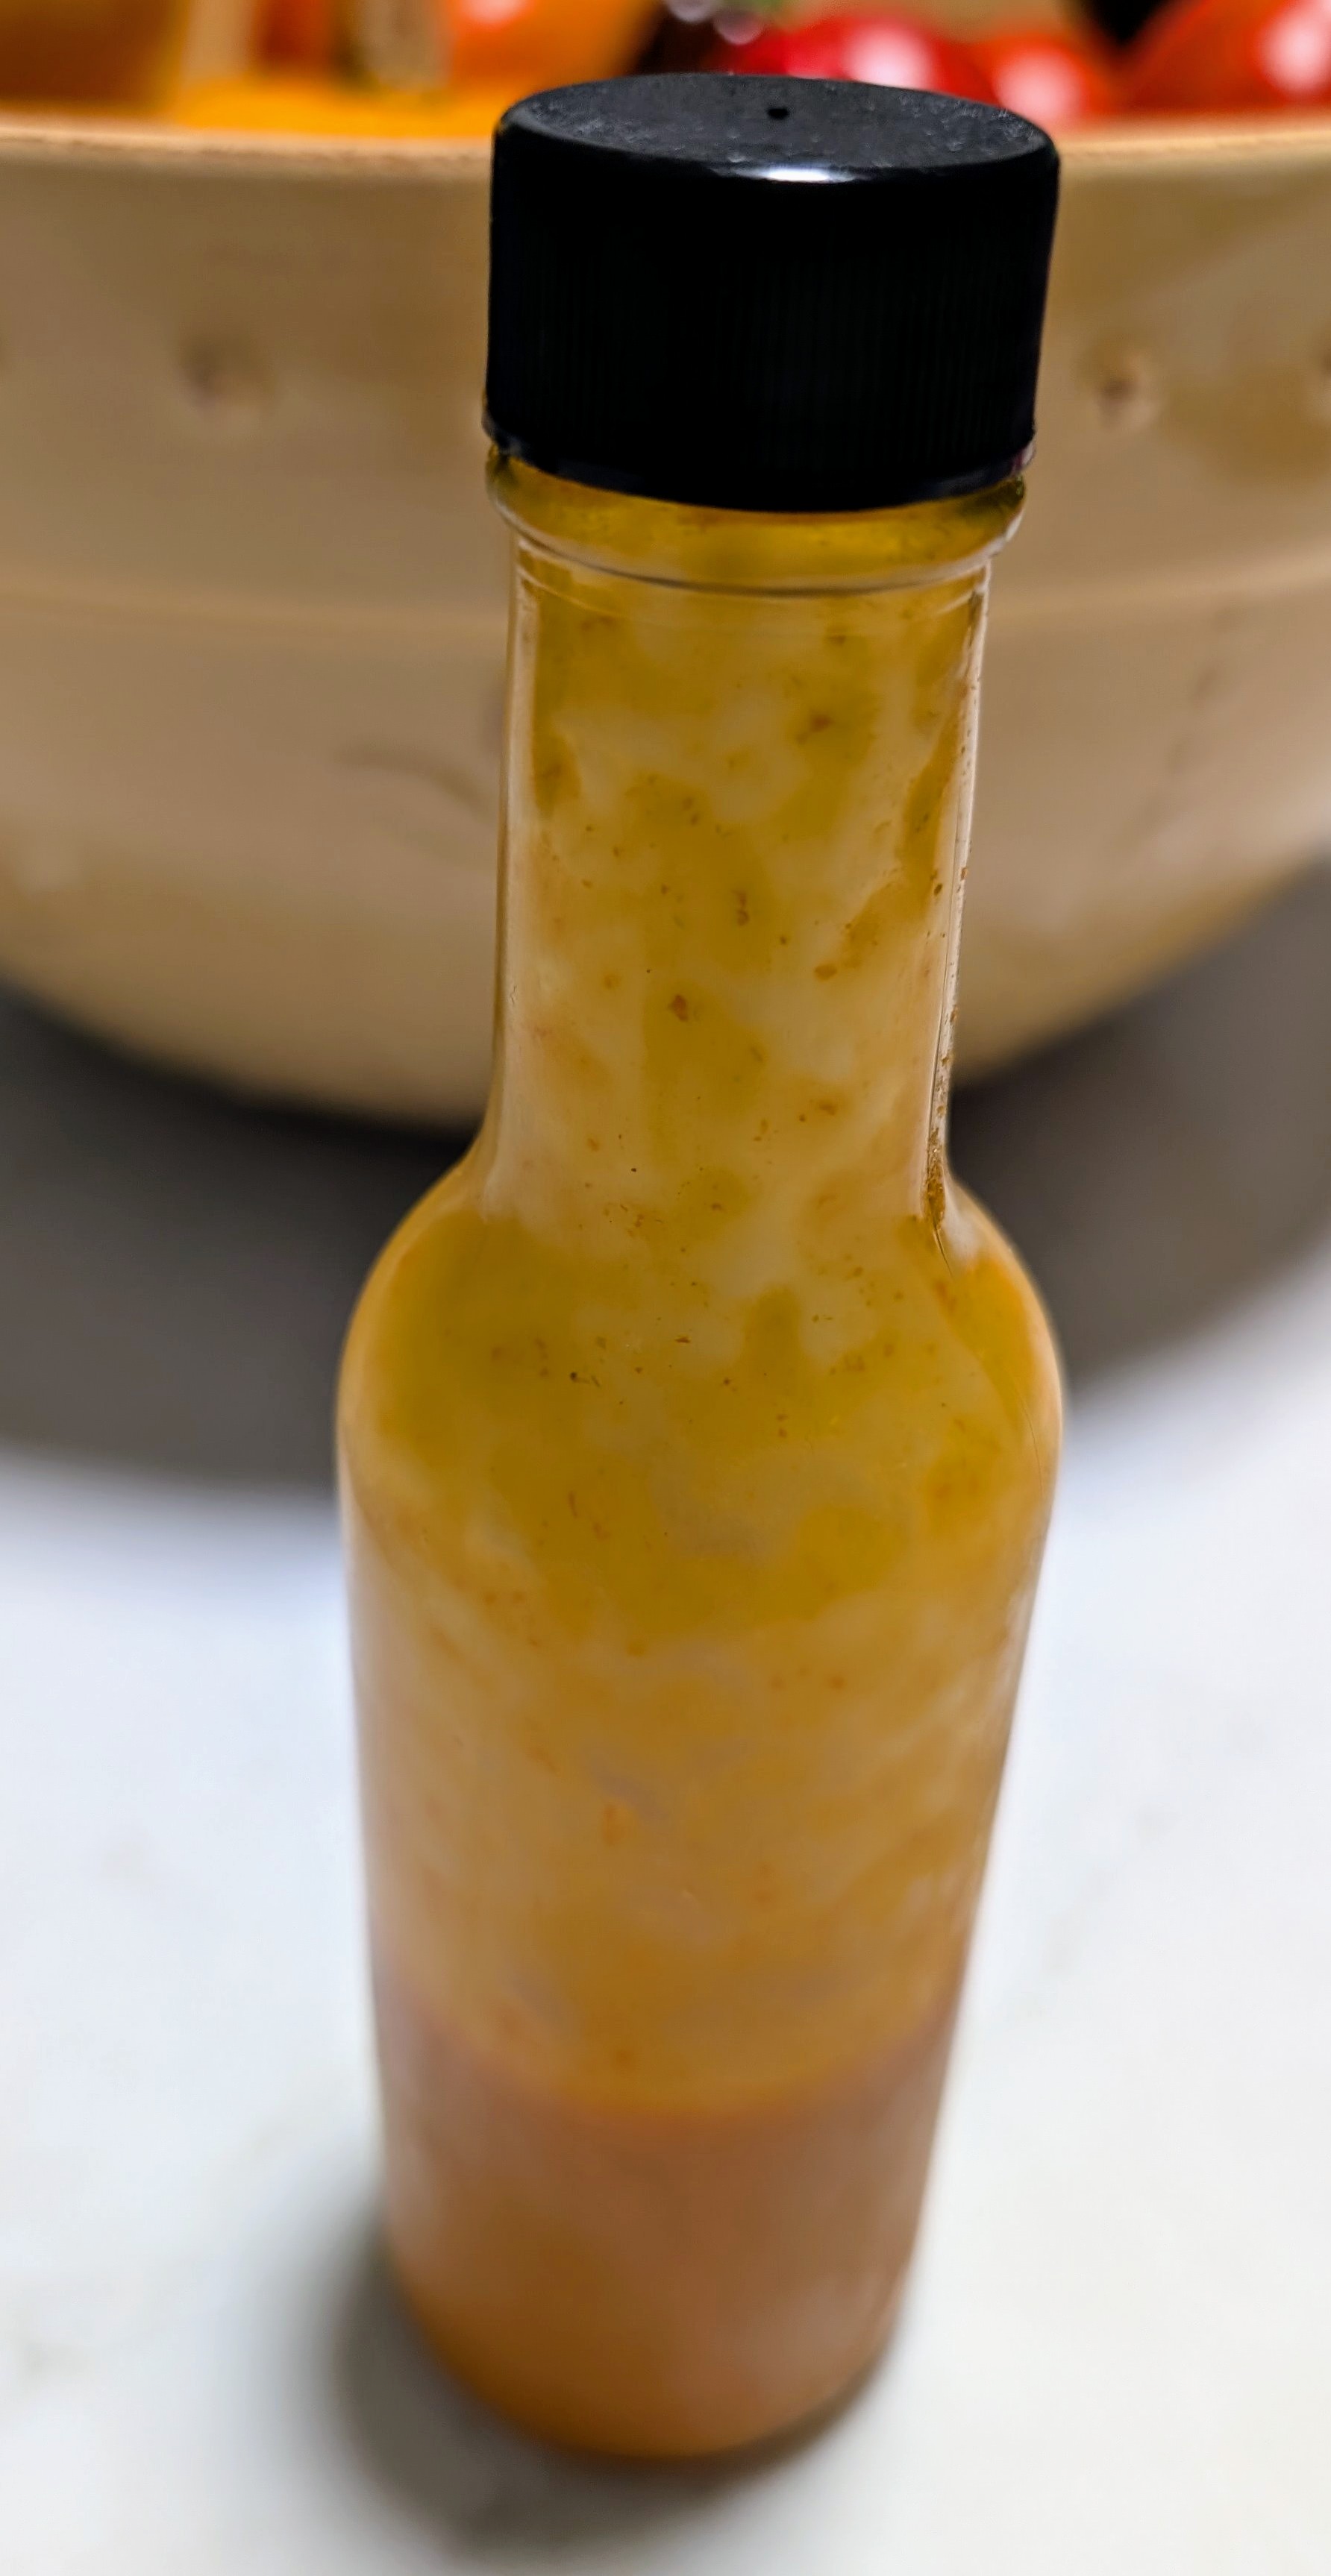
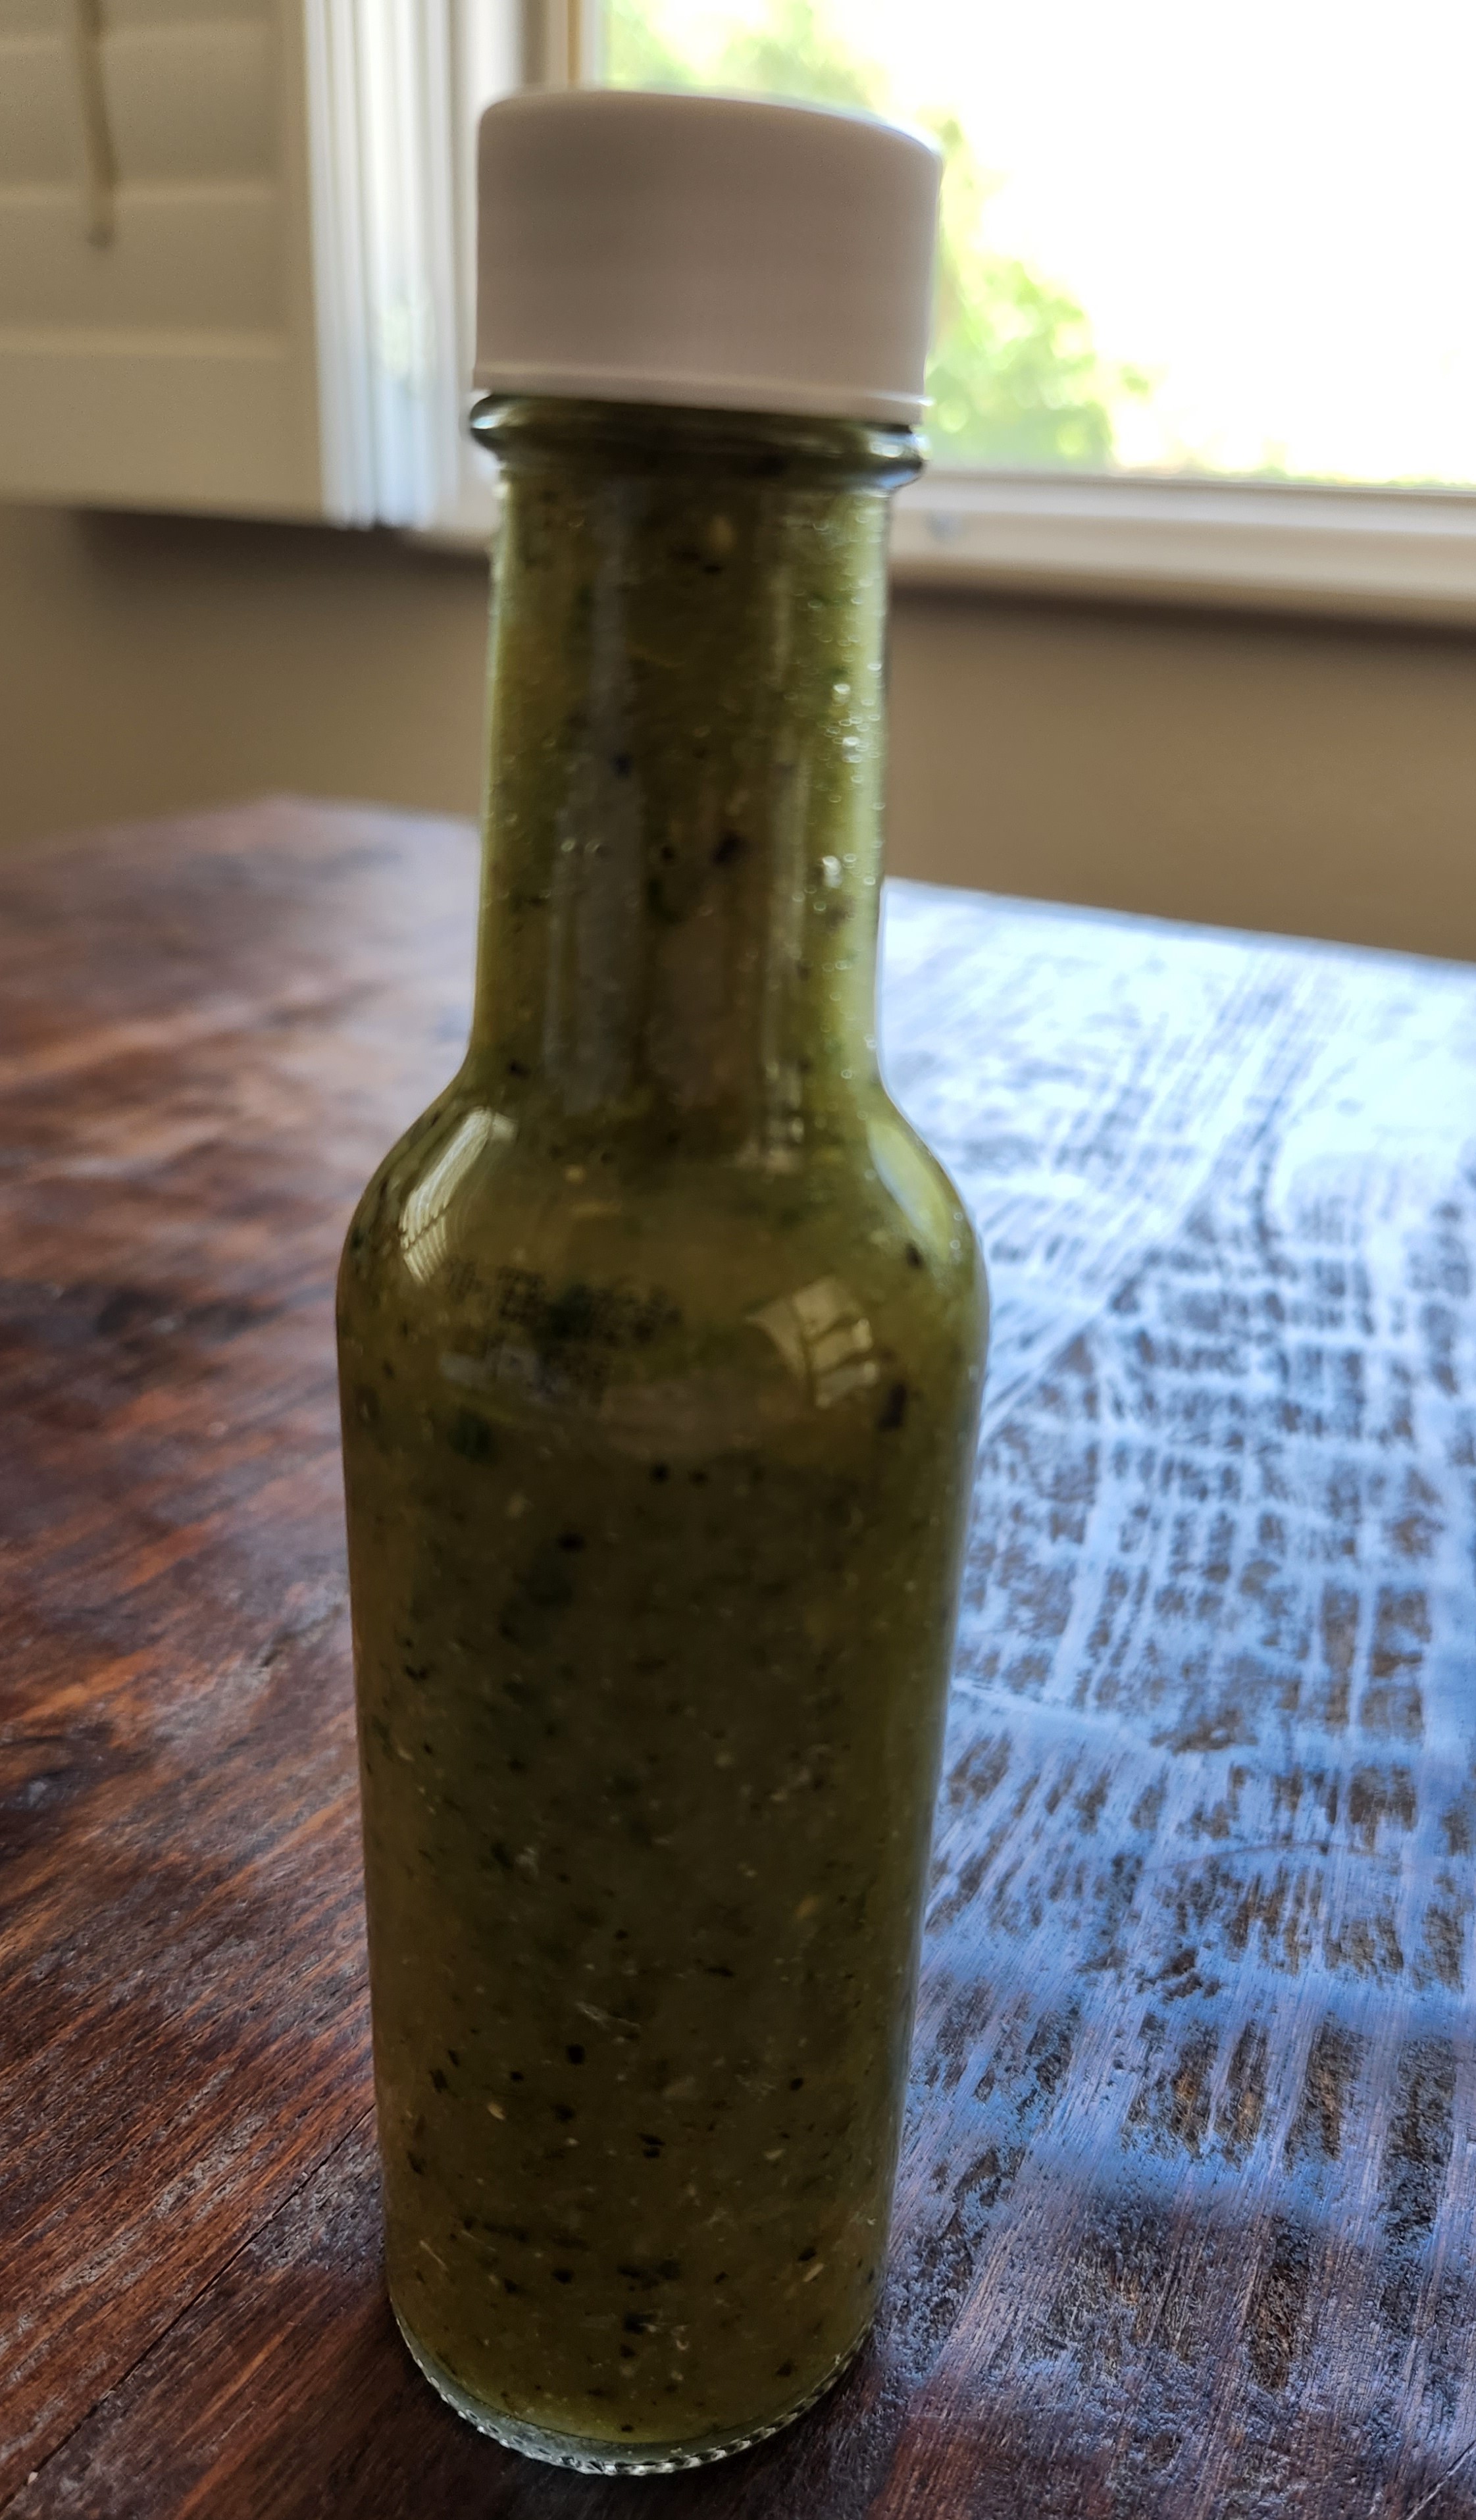
Taco Bell “Hot” Hot Sauce Recipe

Ingredients

  • 6 oz Tomato Paste
  • 3 Cups filtered Water
  • 2 1/2 teaspoons Cayenne Pepper
  • 1 ½ tablespoon Chili Powder (I used New Mexico Red powder)
  • 2 ½ teaspoon Salt
  • ½ teaspoon Xanthan Gum (Can substitute Corn Starch)
  • 2 teaspoon White Vinegar
  • 1 teaspoon Onion Powder
  • ½ teaspoon Ground Black Pepper
  • 1 teaspoon Ground Cumin
  • 1 teaspoon Garlic Powder

Directions

Add tomato paste to pan, add 1/2 cup of the water and mix till incorporated, then add another 1/2 cup and do the same till all but a little of the water is left (save about 3 tablespoons). Now add all the rest of the ingredients with the Xanthan Gum or Cornstarch and use the water left to mix in with it to avoid clumping then add it in. Mix everything till evenly incorporated. Heat to hot and steaming to pasteurize and this will also meld the spice flavors together. Add into Jars and keep in the refrigerator.

Note

Most of this recipe was take from Hot Rod’s Recipes and slightly adjusted. Thanks to him for a great recipe to start with. https://www.hotrodsrecipes.com/copycat-taco-bell-hot-sauce

Instant Pot Refried Black Beans

This recipe can be scaled up as needed. This recipe makes about 4 side dish servings. For more punch to the flavor, taste and add some additional garlic powder to you liking.

Ingredients

  • 1 cup of black beans soaked in water overnight
  • 4 large cloves of garlic minced
  • 1 tsp ginger minced
  • 1 tsp onion powder
  • 1/2 tsp cumin
  • 1 1/2 tsp Kosher salt
  • 2 tablespoons of olive oil
  • 3/4 cup of water

Directions

Set Instant Pot to sauté settings, add olive oil, garlic, and ginger. Saute for 1-2 minutes, then add rest of ingredients except salt along with water. Pressure cook on high for 55 mins and let pressure reduce naturally without venting. When depressurized, add in 1 tsp of salt and use stick blender to blend till at the desired consistency. Taste and add more salt to taste. These can be eaten with tortillas, made into tostadas or used as a side dish.

Instant Pot Chipotle Chicken

Wanted something quick to make with chicken thighs looked around several recipes and came up with this.

Ingredients

  • 1 small onion rough chipped
  • 3 cloves garlic smashed
  • 2 chipotle peppers in adobo sauce + 1 tsp of the adobo sauce from the can
  • 1 tablespoon chili powder
  • 1 teaspoon paprika
  • 2 teaspoons cumin
  • 2 teaspoons oregano
  • 1 bay leaf 
  • 1 tsp chicken bullion
  • 1 cup water
  • salt and pepper
  • 2 lbs chicken thighs (fat trimmed)

Directions

Add all ingredients into Instant Pot. Add chicken and mix around and submerge chicken in liquid as much as possible. Cook on high pressure for 10 mins. Let pressure naturally release. Chop and add on top of rice with salsa. Enjoy

Chinese Green Onion Pancakes

This is an incredibly simple recipe and easy to make but is enjoyable and satisfying to eat. I first tasted this in a visit to China and wanted to try to reproduce it. Here is the recipe that I have come up with for 3 pancakes, enjoy.

Ingredients

  • 1 cup of All Purpose Flour or Bread Flour
  • 1/4 tsp salt
  • 1/2 cup of boiling water
  • 4 green onions sliced into rings
  • 3 tablespoons of oil or butter for frying

Directions

Put Flour and Salt into a bowl and mix dry ingredients. Add boiling water and stir and mix together with fork till dough comes together. Separate into 3 balls and let rest for 30 mins. Roll out balls into disks and sprinkle 1/3 of the green onions on each. Roll up into a cigar shape with onions inside, then coil up cigar into a disk. Then roll out into a pancake and fry each pancake in 1 tablespoon of oil over medium high heat till browned and cooked.

Spicy Garlic Bok Choy

  1. 1 pound bok choy
  2. 1 tablespoon oil 
  3. 1 tablespoon sesame oil
  4. ¼ cup water
  5. 1 teaspoon grated fresh ginger root
  6. 2 cloves garlic, minced
  7. 1 tablespoon oyster sauce (For Vegetarian/Vegan substiture Hoisin Sauce)
  8. 1 tablespoon light soy sauce
  9. 1/2 tablespoon brown sugar
  10. 1/2 teaspoon crushed red pepper flakes
  11. 1/2 tsp of corn starch

Directions (Ready in less than 10 mins)

Mix ingredients 3-11 in a bowl. Cut stems off, slice up, and put asside. Cut up leaves. Heat pan and add oil, I used avocado oil since it is healthy and good for high temp. Add stems and fry for a couple of minutes. Add in leaves and fry till wilted. Put aside and pour sauce mixed together in bowl earlier into hot pan. Cook for about 2 minutes and pour over bok choy, then serve.

Roasted Green Chili Serrano Hot Sauce

I wanted to make a somewhat spicy sauce with a somewhat thicker consistency an a nice roasted flavor. I like Salsa Verde and wanted to make something similar but a spicy version. So I used Serrano peppers to bring some heat and Anaheim to tame it a little and provide the specific flavor that chilis have and thicken it a little. It doesn’t have that much salt so it is healthier than most store bought sauces. The rest of the ingredients give the Salsa Verde flavor. It makes about a pint of sauce and it came out pretty good. This is a little bit spicy, if you want to have it more spicy, you can add more Serrano peppers till you get it the way you want it. I am doing a fermented version of this with a little ginger added and want to see the flavor difference with the fermentation. If it comes out good I will post it later. Here is the unfermented sauce recipe.

Ingredients

  • 4 Serrano Peppers w/stems removed
  • 2 Anaheim Peppers very slightly spicy (Like a spicy bell pepper)
  • 5 cloves of garlic
  • 2 small to medium sized tomatillos
  • 1/2 of a medium size yellow onion
  • 1/8 to 1/4 cup water depending on desired consistency
  • 2 tablespoons of white vinegar.
  • 1/2 tsp kosher salt
  • 7 sprigs of cilantro

Directions

Put peppers, garlic, tomatillos, and onion onto a baking sheet lined with foil and put under broiler on high till garlic and onion is slightly charred and peppers are well charred on all sides. Remove and let cool. Then put into a blender with salt, water, and vinegar. Add to blender and blend till it forms a paste and add water to adjust to correct consistency. Now add cilantro and blend a little more to chop us the cilantro into little bits. Adjust with any additional salt, water, or vinegar to taste. Serve and enjoy.

Preserved Lemons

Ingredients

  • 4-5 Meyer lemons cut into pieces w/skin on
  • 2 1/2 tsp of salt for a pint sized jar

Directions

Put a layer of lemon pieces into the jar and sprinkle some of the salt on top of them, repeat, with a layer of lemons then the salt till the jar is full, then push down the lemons in the jar to squeeze out some of the juice and keep adding lemons with salt sprinkled on top till you have added and pushed down the lemons till the juice is completely covering the lemons in the jar. Then put a lid on and seal well. Turn the jar upside down after 12 hours. Then turn right side up and repeat this for a week. Then store in a cool place and after a few weeks they are ready and can stay good for months.

Buttermilk Blue Cheese Recipe

Ingredients

  • 1 quart of buttermilk
  • 1 gallon of whole milk
  • 1 pint of cream
  • 1/16 tsp of penicillin Roqueforti culture
  • 1/8 tsp of mesophilic direct set culture
  • 1/2 tsp rennet in 1/4 cup water
  • 1/4 tsp calcium chloride dissolved in 1/4 cup water
  • 1 tablespoon non iodized salt.

Directions

  • Add buttermilk, milk, and cream to pot stir to mix then heat to 90 degrees F.
  • Sprinkle cultures on top and let set for 5 minutes
  • Stir cultires into milk, cover and let set for30 minutes, temperature should be maintained at 90 degrees.
  • Add in rennet store for 1 minute and let set for 2 hours
  • Cut the curds into 1/2” cubes. I could not get a clean break, probably due to the buttermilk and possibly not enough rennet so I increased the amount of rennet for this recipe. Let set for 5 minutes after cutting curds.
  • Now since I didn’t get a clean break, I lined a colander with a butter muslin and put in the sink and spooned the poorly set curd into the lined colander, let it drain for about 5 minutes, then gathered together opposite corners of the butter muslin and hung it over a pot to drain for about an hour. If you get a clean break you can let the curds rest for 5 minutes, then gently stir for 20 minutes trying not to break them up. Then spoon the curds into the butter muslin lined cheese mold.
  • Remove the drained curd and break into 1 inch pieces and put into a 6” cheese mold lined with cheese cloth, put the follower on and press with 5 lbs of weight for about 30 minutes. The cheese will be draining so put it into a pot or cake pan with a bowl turned upside down inside to raise it off the bottom, out of the pool of whey that will form.
  • Remove the cheese, empty whey from pot, unwrap the cheesecloth and flip the cheese and put back into the mold without the weight or follower and let set for 2 hours.
  • Remove from the cheese mold and repeat the flipping and re-wrapping with the cheesecloth and putting back into the mold. Let set for 12 hours (or overnight).
  • The next day if the cheese is firm enough you can remove the cheesecloth and flip and put back into the mold without the cheesecloth. Let set for another 12 hours, flip cheese again and if it is firm enough now you can set it on a cheese mat (I use a sushi rolling mat) in the pot inside the pot elevated out of any whey pool that will form and let set for another 12 hours (or overnight) and flip again. Let set out in room for 3 more days, to let cheese mostly drain flipping cheese every 12 hours. After 2nd day smooth over any holes on the outside surface of the cheese with a butter knife and then distribute salt evenly over the surface of the cheese. It will penetrate the cheese during the aging.
  • Now we will create the passages for oxygen to get inside the cheese to form blue mold inside by taking a clean skewer and inserting it from the top of the cheese to the bottom gently to create holes. I put about 20 evenly spaced holes
  • Now put cheese inside of a ripening box. Mine is a vegetable storage container with an strainer like insert that raises the contents off the bottom so any liquid that forms on the bottom doesn’t come in contact with what you are storing inside and a lid to seal it. Now put the storage box in the cheese cave (mine is the vegetable drawer of the fridge that maintains about 55 degrees F). Leave this in the ripening cave for 3 weeks, Flipping the cheese over once a day removing any condensation and liquid on the bottom of the container. It should have a blue mold form covering the surface of cheese after about a week. This mold covering may slip while you are flipping it so be very gentle to keep it in tact.
  • Remove the cheese from the cave now and gently using a flat blade scrape most of the mold off the surface of the cheese leaving little spots here and there. Be careful to just remove the mold and not the cheese.
  • Wrap the cheese in foil and store in the fridge (not the cheese cave) for 3 more weeks to mature.
  • After the 3 weeks in the fridge the cheese is ready to eat. You can cut in half and re-wrap one half and put it in the fridge and use the other half to eat. The half you are eating can be wrapped in plastic wrap instead of the foil since it won’t be stored for too long.

Making Your Own Cultured Buttermilk

Making your own cultured buttermilk is easy and takes only a couple of minutes. You just need to get a buttermilk culture and some milk.

Ingredients

  • Buttermilk Culture: Store bought Buttermilk, or a Culture. (amazon link)
  • Milk: Either 2% or whole milk for more creamy Buttermilk.

Directions

If using store bought buttermilk to culture, just mix about 1 cup of buttermilk to 3 cups milk shake/mix and let set at room temp (72-82F) for 12-16 hours till buttermilk is as think as you like. Then refrigerate and it will say good for 1-3 weeks. If you re-culture (take 1 cup of the buttermilk and follow the same process as above) it will last another 1-3 weeks in the fridge.

If using a buttermilk culture, bring 1 qt milk up to room temp (72-82F) then sprinkle culture onto milk and let rehydrate for 1-2 minutes. Then shake and let set at room temp for 12-16 hours as above.

Notes:

I used 1 quart of store bought cultured buttermilk and used all but 1 cup of the buttermilk, then poured milk into the quart milk container, mixed by shaking and then let set at room temp for 12 hours.

You can make a substitute for cultured buttermilk by adding 1 tablespoon of lemon juice or white vinegar to 1 cup of milk, mixing and it will create milk that is similar to cultured buttermilk which is made with a culture similar to yogurt.

You can use your homemade buttermilk to make fresh easy to make cheese.

Fresh Garlic Chive Buttermilk Cheese Recipe

I have made a few cheeses already. Those have been more difficult cheeses such as cheddar, blue cheese, and mozzarella. This cheese is much easier and less time consuming than the ones mentioned above, doesn’t require any special equipment and tastes incredible. It is a soft spreadable cheese and requires no aging. Pictured are the Garlic Chive flavor and the Black Pepper flavor.

Ingredients

  • 3 cups of cultured buttermilk
  • 2 quarts of Whole milk
  • 1 bunch of garlic chives (Can use regular chives & garlic powder)
  • 1 teaspoon of onion powder
  • 1 teaspoon of garlic powder if using regular chives
  • 4 teaspoons kosher salt

Directions

Pour buttermilk (you can culture your own buttermilk easily) and milk into pot and heat to about 90 degrees F. Let set for an hour, I did this to culture the regular milk into buttermilk to a small degree. After the hour culturing, Add in onion powder (and garlic powder if using regular chives) and chives. Heat over medium heat while stirring slowly until it gets close to 180 degrees. When it does reach 180 degrees F, you will see it curdle. At this point remove from heat and per set for about 30 mins to fully curdle. Then scoop into a colander lined within a doubled over cheese cloth till all the contents of the pot have been spooned into the cheese cloth. Now gather the corners of the cheese cloth and lift by the corners and twist to squeeze out the whey (liquid) until it is mostly out. Spoon the cheese that is in the cheese cloth to a container and enjoy. Store in the refrigerator in a sealed container for up to 2 weeks, if it lasts that long.