Instant Pot Refried Black Beans

This recipe can be scaled up as needed. This recipe makes about 4 side dish servings. For more punch to the flavor, taste and add some additional garlic powder to you liking.

Ingredients

  • 1 cup of black beans soaked in water overnight
  • 4 large cloves of garlic minced
  • 1 tsp ginger minced
  • 1 tsp onion powder
  • 1/2 tsp cumin
  • 1 1/2 tsp Kosher salt
  • 2 tablespoons of olive oil
  • 3/4 cup of water

Directions

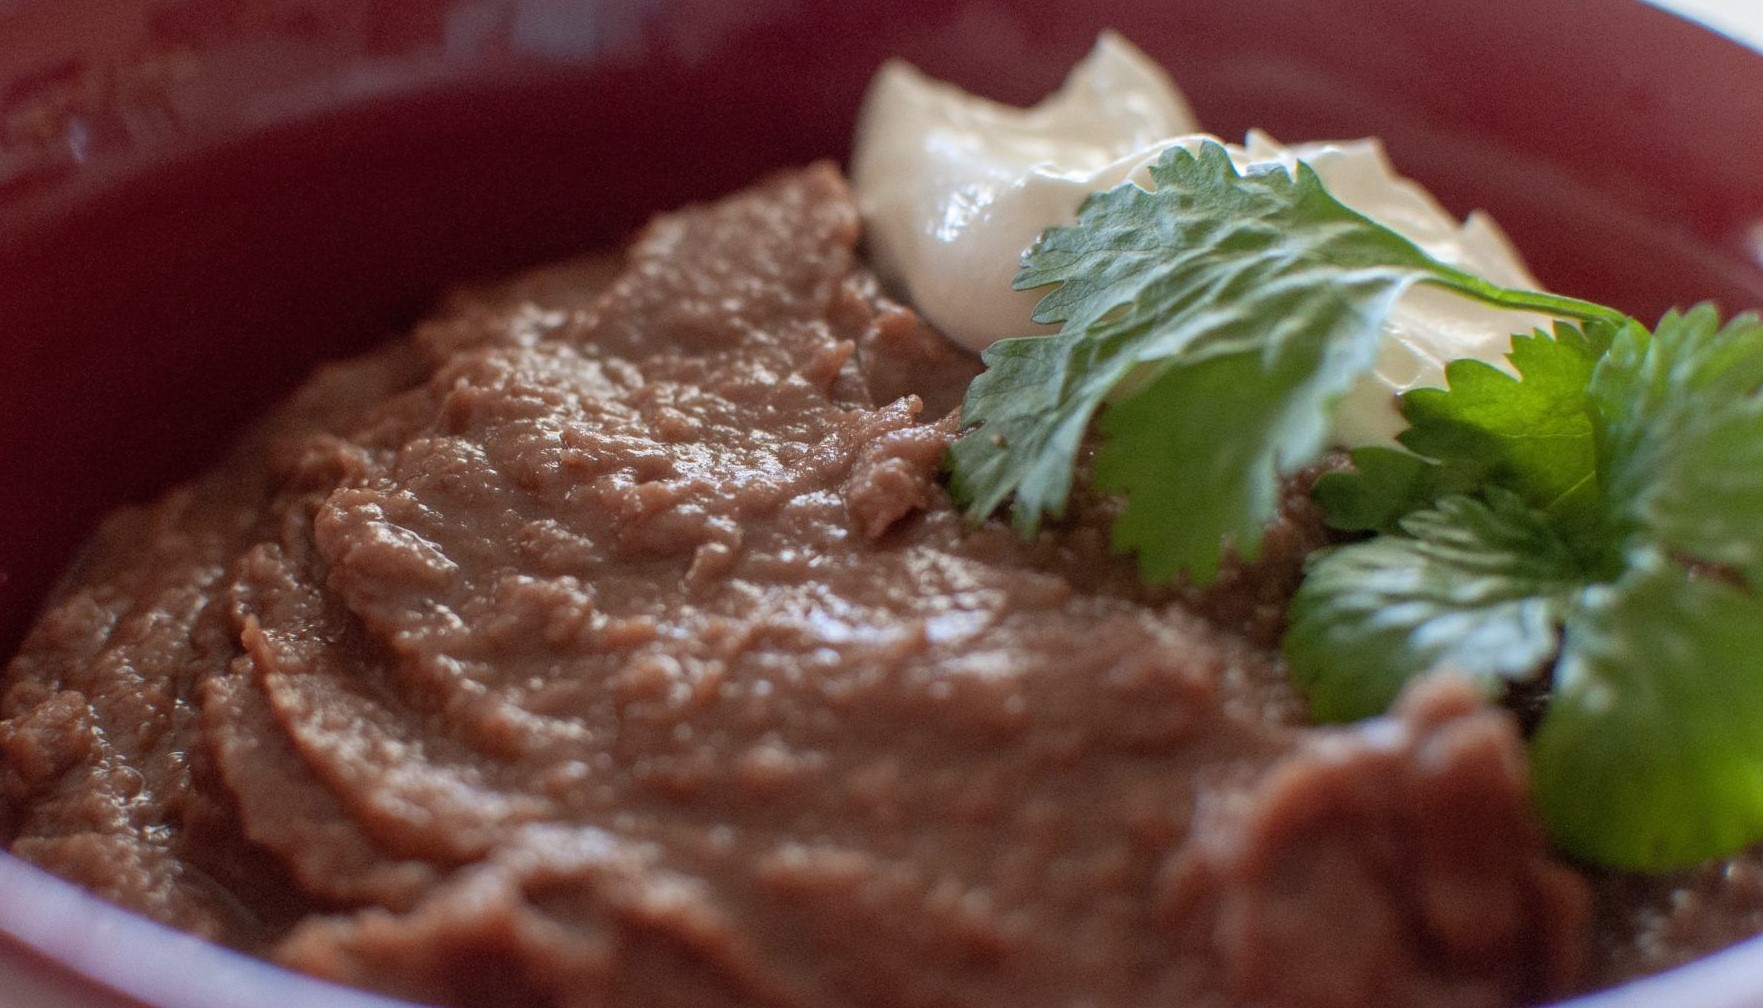
Set Instant Pot to sauté settings, add olive oil, garlic, and ginger. Saute for 1-2 minutes, then add rest of ingredients except salt along with water. Pressure cook on high for 55 mins and let pressure reduce naturally without venting. When depressurized, add in 1 tsp of salt and use stick blender to blend till at the desired consistency. Taste and add more salt to taste. These can be eaten with tortillas, made into tostadas or used as a side dish.

Buttermilk Blue Cheese Recipe

Ingredients

  • 1 quart of buttermilk
  • 1 gallon of whole milk
  • 1 pint of cream
  • 1/16 tsp of penicillin Roqueforti culture
  • 1/8 tsp of mesophilic direct set culture
  • 1/2 tsp rennet in 1/4 cup water
  • 1/4 tsp calcium chloride dissolved in 1/4 cup water
  • 1 tablespoon non iodized salt.

Directions

  • Add buttermilk, milk, and cream to pot stir to mix then heat to 90 degrees F.
  • Sprinkle cultures on top and let set for 5 minutes
  • Stir cultires into milk, cover and let set for30 minutes, temperature should be maintained at 90 degrees.
  • Add in rennet store for 1 minute and let set for 2 hours
  • Cut the curds into 1/2” cubes. I could not get a clean break, probably due to the buttermilk and possibly not enough rennet so I increased the amount of rennet for this recipe. Let set for 5 minutes after cutting curds.
  • Now since I didn’t get a clean break, I lined a colander with a butter muslin and put in the sink and spooned the poorly set curd into the lined colander, let it drain for about 5 minutes, then gathered together opposite corners of the butter muslin and hung it over a pot to drain for about an hour. If you get a clean break you can let the curds rest for 5 minutes, then gently stir for 20 minutes trying not to break them up. Then spoon the curds into the butter muslin lined cheese mold.
  • Remove the drained curd and break into 1 inch pieces and put into a 6” cheese mold lined with cheese cloth, put the follower on and press with 5 lbs of weight for about 30 minutes. The cheese will be draining so put it into a pot or cake pan with a bowl turned upside down inside to raise it off the bottom, out of the pool of whey that will form.
  • Remove the cheese, empty whey from pot, unwrap the cheesecloth and flip the cheese and put back into the mold without the weight or follower and let set for 2 hours.
  • Remove from the cheese mold and repeat the flipping and re-wrapping with the cheesecloth and putting back into the mold. Let set for 12 hours (or overnight).
  • The next day if the cheese is firm enough you can remove the cheesecloth and flip and put back into the mold without the cheesecloth. Let set for another 12 hours, flip cheese again and if it is firm enough now you can set it on a cheese mat (I use a sushi rolling mat) in the pot inside the pot elevated out of any whey pool that will form and let set for another 12 hours (or overnight) and flip again. Let set out in room for 3 more days, to let cheese mostly drain flipping cheese every 12 hours. After 2nd day smooth over any holes on the outside surface of the cheese with a butter knife and then distribute salt evenly over the surface of the cheese. It will penetrate the cheese during the aging.
  • Now we will create the passages for oxygen to get inside the cheese to form blue mold inside by taking a clean skewer and inserting it from the top of the cheese to the bottom gently to create holes. I put about 20 evenly spaced holes
  • Now put cheese inside of a ripening box. Mine is a vegetable storage container with an strainer like insert that raises the contents off the bottom so any liquid that forms on the bottom doesn’t come in contact with what you are storing inside and a lid to seal it. Now put the storage box in the cheese cave (mine is the vegetable drawer of the fridge that maintains about 55 degrees F). Leave this in the ripening cave for 3 weeks, Flipping the cheese over once a day removing any condensation and liquid on the bottom of the container. It should have a blue mold form covering the surface of cheese after about a week. This mold covering may slip while you are flipping it so be very gentle to keep it in tact.
  • Remove the cheese from the cave now and gently using a flat blade scrape most of the mold off the surface of the cheese leaving little spots here and there. Be careful to just remove the mold and not the cheese.
  • Wrap the cheese in foil and store in the fridge (not the cheese cave) for 3 more weeks to mature.
  • After the 3 weeks in the fridge the cheese is ready to eat. You can cut in half and re-wrap one half and put it in the fridge and use the other half to eat. The half you are eating can be wrapped in plastic wrap instead of the foil since it won’t be stored for too long.

Instant Pot Ribs

Ingredients

  • 1 Rack of Baby Back Ribs
  • Your favorite BBQ sauce
  • Rub
    • 4 tbsp of brown sugar
    • 1 1/2 tbsp kosher salt
    • 1/2 tsp ground black pepper
    • 1/4 tsp cayenne pepper
    • 1/4 tsp old bay seasoning
    • 1/4 tsp thyme
    • 1/4 tsp onion powder
    • 1/2 tsp smoked paprika
  • Braising liquid
    • 1 cup of water
    • 2 tbsp white wine vinegar

Directions

Apply rub to both sides of ribs, then wrap tightly in saran wrap and refrigerate as little as a hour or overnight to cook the next day. Take out from refrigerator and cut into serving size portions (about 4 ribs). Add braising liquid to Instant pot and then put in the rack that came with the instant pot. Add ribs so there is a little space between them put lid on and cook on high pressure for about 20 mins. When Instant pot is done, quick release pressure and brush with BBQ sauce and put on rack and broil in oven till BBQ sauce is carmelized to your liking. You can also finish on the grill if you prefer.

Tunaless Tuna Salad Recipe Where You Don’t Miss the Tuna.

This is a simple recipe that is as easy to make as tuna salad and it tastes very similar and is just as filling.

Ingredients

  • 1/2 can of garbanzo beans drained and rised.
  • 3 tablespoons of mayonnaise of Vegan mayonnaise.
  • 1 1/2 teaspoons Dijon or regular mustard.
  • 1/2 teaspoon granulated garlic.
  • 1 stalk of finely chopped celery (optional).
  • 1/2 small onion finely copped (optional).
  • 1 heaping tablespoon of finely chopped pick (sweet or dill) (0ptional).
  • Salt to taste

Directions

Put garbanzo beans into a food processor and pulse several times till chopped finely but you don’t want to have a paste that way you still have a little bite to the garbanzos. Mix all other ingredients in and stir till combined.  You can either eat on top of lettuce or put in a sandwich with lettuce and tomato, or however you would use tuna.

Hearty Daal Makhani Recipe

Delicious Daal Makhani

This is a flavorful vegetarian curry and can easily made to be vegan. I like to make it spicy with extra pepper powder and extra hot peppers. It goes great along with naan.

Ingredients

  • 1/3 cup of urad daal
  • 1/3 cup of red kidney beans (rajma)
  • 1/3 cup of channa dal
  • 1 small onion finely chopped
  • 1 tbsp ginger paste
  • 4 oz tomato sauce
  • 4 cloves of garlic smashed and minced into a paste
  • 1 tsp cumin seeds
  • 2 tbsp canola oil
  • 1 tbsp butter (olive oil for vegans)
  • 1/2 to 1 tsp garam masala
  • 1 tsp cayenne pepper
  • 1/2 tsp tumeric powder
  • 1 -2 Serrano pepper minced or finely sliced
  • 2 tbsp minced cilantro (optional)
  • 1/4 cup cream (coconut cream can be used for vegan substitute)
  • water listed in recipe below.

Directions

Soak red kidney beans, urad daal, and channa dal overnight OR add to pan cover with 4″ of water and bring to a boil, remove from heat and cover, then let set for an hour. Then pour off water and add in water to cover by at least 3″ and bring to a boil and then reduce heat and simmer just under boiling for about 2 hours till kidney beans are tender. Strain them, put them in a bowl and set aside. In a frying pan or sauce pan heat pan then add canola oil and cumin seeds and fry till they start to pop. Now add in onion and fry for about 2 minutes, then add garlic and ginger and fry for an addition 2 minutes. Add in dry spices (garam masala, cayenne pepper, tumeric) and fry for another minute, then add tomato sauce and fry for another 3 minutes. Add 1 tbsp of butter (olive oil can be use for vegan substitute) and add back lentils and beans set aside earlier along with 1 cup of water. Smash up the lentils and beans some, stir and cook adding additional water to make into a paste consistency as shown in picture, about 30 minutes stirring occasionally. If you’d like you can sprinkle a little extra garam masala on top and stir in at the end of the cook time along with the cream. Top with cilantro, serve and enjoy.

Healthy Spicy Pepper Crusted Salmon

Healthy Pepper Crusted Salmon

I love this healthy recipe, It has a spicy crust with the rich salmon flavor inside. It is simple and great for a quick, healthy, easy to make main course.

Ingredients

  • Salmon fillets skin removed.
  • Course ground black pepper
  • Olive Oil
  • Salt

Directions

Bring your salmon fillets to room temp.  Coat your Salmon till it is covered with the course ground black pepper and sprinkle some salt on both sides. Preheat your pan till it is really hot, and then add the olive oil to almost coat the bottom of the pan. Now add the salmon to the pan and cook for about 7 minutes on each side till you can poke it and it feels firm. It should have a browned crust on it. Remove the salmon from the pan and let it rest for about 5 minutes, then serve and enjoy.
 

Vietnamese Spring Rolls w/spicy dipping sauce


Vietnamese Spring Roll

Prepped Vegetables
Prepped Vegetables

Ingredients

Directions

After all the prep is done and the ingredients are ready. Fill a 9×13 cake pan with warm water and take a piece of the rice paper a soak it for about 20 – 40 seconds until it softens then lay the softened rice paper flat on a plate. Put 3-4 of the cooked shrimp across the rice paper, then put the lettuce leafs on top of the shrimp, then the carrot, cucumber, a few mint leaves then about 3 sprigs of cilantro. Pick up one side of the rice paper and gently stretch it over all the items you just stacked on it and try to get it a little tight and start to roll it up. When you have it about half way rolled fold over the sides, then finish rolling it up. It should end up looking like the picture. After you have all the spring rolls done, you can make the sauce. Put one part Hoisin sauce and 3 parts Siracha sauce into a small bowl and mix. Then put some of the sauce on the plate and serve with the spring rolls. For vegan or vegetarian versions just leave out the shrimp.

Crock Pot Layered Enchilada

Delicious Crock Pot Enchilada

This is a great prep, cook in crock pot, eat later recipe. It has a different flavor than making it with enchilada sauce, the spicy pepper, tomato, garlic, and cheese flavors blend nicely. It is a good week night meal when you want to get home and have something ready to eat without picking up take out. It goes good with a side of corn.

Ingredients

  • 1 can (14 oz.) whole or diced tomatoes
  • 1/2 can (6 oz.) tomato paste
  • 1 small onion, cut into pieces
  • 1 lb. browned ground beef (Use Boca Burgers: Meatless Ground Crumbles for Vegetarian/Vegan)
  • 1 to 3 cloves garlic, minced
  • 2 cups (8 oz.) shredded Cheddar cheese (Vegan: Use a cheese substitute or leave out)
  • 1/2 teaspoon ground red pepper
  • 9 corn tortillas
  • 1/2 teaspoon salt

Directions
To prepare sauce, blend tomatoes and their liquid with onion and garlic in a blender or  food processor. Pour into medium-sized saucepan. Add red pepper, salt and tomato paste. Heat to a boil; then simmer for 5 to 10 minutes. Place 3 tortillas in bottom of Crock-Pot. Layer on tortillas 1/3 of the ground beef, 1/3 of the tomato sauce and 1/3 of the Cheddar cheese. Repeat each layer two more times. Cover and cook on Low 6 to 8 hours.
4 servings

Zesty Healthy Black Bean Stew

Zesty Healthy Black Bean Stew

This is a great robust and filling dish that fives a lot of dimensions of flavors. It also ends up being very easy to make. The recipe below will make enough for two large  servings.

Ingredients

  • 2 teaspoons olive oil
  • 1/2 medium onion, chopped
  • 3 garlic cloves, minced
  • 1 teaspoons ground cumin
  • 1 can (4 1/2 ounces) chopped green chiles
  • 1 cans (15 ounces each) black beans, drained and rinsed
  • 1 cans (14 1/2 ounces each) diced tomatoes in juice (Can use tomatoes w/Chilis)
  • Salt to taste
  • 1/2 package (10 ounces) frozen corn (optional)
  • 1/4 tube of Soyrizo (Optional for additional depth of flavor), If you prefer to have meat in the dish use Chorizo instead of Soyrizo.
  • Cheddar Cheese (optional for sprinkling on top)
  • Sour Cream (Optional for Dollop on top)

In a large saucepan, heat oil over medium. Add onion; cook until softened, 5 to 6 minutes. Add garlic and cumin; cook, stirring often, until fragrant, about 2 minutes more. To the pan, add chiles, beans, tomatoes and their juice, 2 cups water, and 3/4 teaspoon salt. Bring mixture to a boil; reduce heat to medium-low, and simmer, partially covered, until slightly thickened, about 20 minutes
In a blender or food processor, puree 2 cups of the stew. Return the puree to the pan, and add corn; simmer until heated through, about 5 minutes. Serve hot.

Habenaro Hot Sauce

habernaroPepper

Each type of pepper has a different kind of hotness. The habenero gives an in your face kind of hotness. If you like really spicy hot sauce, this is for you.

Ingredients

  • 5 cloves garlic
  • 1 carrot peeled sliced crosswise in about 1/2″ slices
  • 1/2 small brown or yellow onion
  • 5 – 8 orange habenero chiles (stem removed)
  • 1/2 cup white cider vinegar
  • 1/2 tsp salt
  • 1/2 tsp sugar
  • 3 sprigs of cilantro

Directions

In a small pan boil garlic, onion, chiles, carrot, and celantro for about 20 minutes in just enough water to cover them. Use 8 habeneros for mouth scorching hot or 5 for just hot.   Add to food processor along with vinegar and about 1/2 cup of the boiling water. Process until ground into a smooth paste, then bottle. Will stay good in the refrigerator for about 2 months. The heat dissipates some as you store it.