Buttermilk Blue Cheese Recipe

Ingredients

  • 1 quart of buttermilk
  • 1 gallon of whole milk
  • 1 pint of cream
  • 1/16 tsp of penicillin Roqueforti culture
  • 1/8 tsp of mesophilic direct set culture
  • 1/2 tsp rennet in 1/4 cup water
  • 1/4 tsp calcium chloride dissolved in 1/4 cup water
  • 1 tablespoon non iodized salt.

Directions

  • Add buttermilk, milk, and cream to pot stir to mix then heat to 90 degrees F.
  • Sprinkle cultures on top and let set for 5 minutes
  • Stir cultires into milk, cover and let set for30 minutes, temperature should be maintained at 90 degrees.
  • Add in rennet store for 1 minute and let set for 2 hours
  • Cut the curds into 1/2” cubes. I could not get a clean break, probably due to the buttermilk and possibly not enough rennet so I increased the amount of rennet for this recipe. Let set for 5 minutes after cutting curds.
  • Now since I didn’t get a clean break, I lined a colander with a butter muslin and put in the sink and spooned the poorly set curd into the lined colander, let it drain for about 5 minutes, then gathered together opposite corners of the butter muslin and hung it over a pot to drain for about an hour. If you get a clean break you can let the curds rest for 5 minutes, then gently stir for 20 minutes trying not to break them up. Then spoon the curds into the butter muslin lined cheese mold.
  • Remove the drained curd and break into 1 inch pieces and put into a 6” cheese mold lined with cheese cloth, put the follower on and press with 5 lbs of weight for about 30 minutes. The cheese will be draining so put it into a pot or cake pan with a bowl turned upside down inside to raise it off the bottom, out of the pool of whey that will form.
  • Remove the cheese, empty whey from pot, unwrap the cheesecloth and flip the cheese and put back into the mold without the weight or follower and let set for 2 hours.
  • Remove from the cheese mold and repeat the flipping and re-wrapping with the cheesecloth and putting back into the mold. Let set for 12 hours (or overnight).
  • The next day if the cheese is firm enough you can remove the cheesecloth and flip and put back into the mold without the cheesecloth. Let set for another 12 hours, flip cheese again and if it is firm enough now you can set it on a cheese mat (I use a sushi rolling mat) in the pot inside the pot elevated out of any whey pool that will form and let set for another 12 hours (or overnight) and flip again. Let set out in room for 3 more days, to let cheese mostly drain flipping cheese every 12 hours. After 2nd day smooth over any holes on the outside surface of the cheese with a butter knife and then distribute salt evenly over the surface of the cheese. It will penetrate the cheese during the aging.
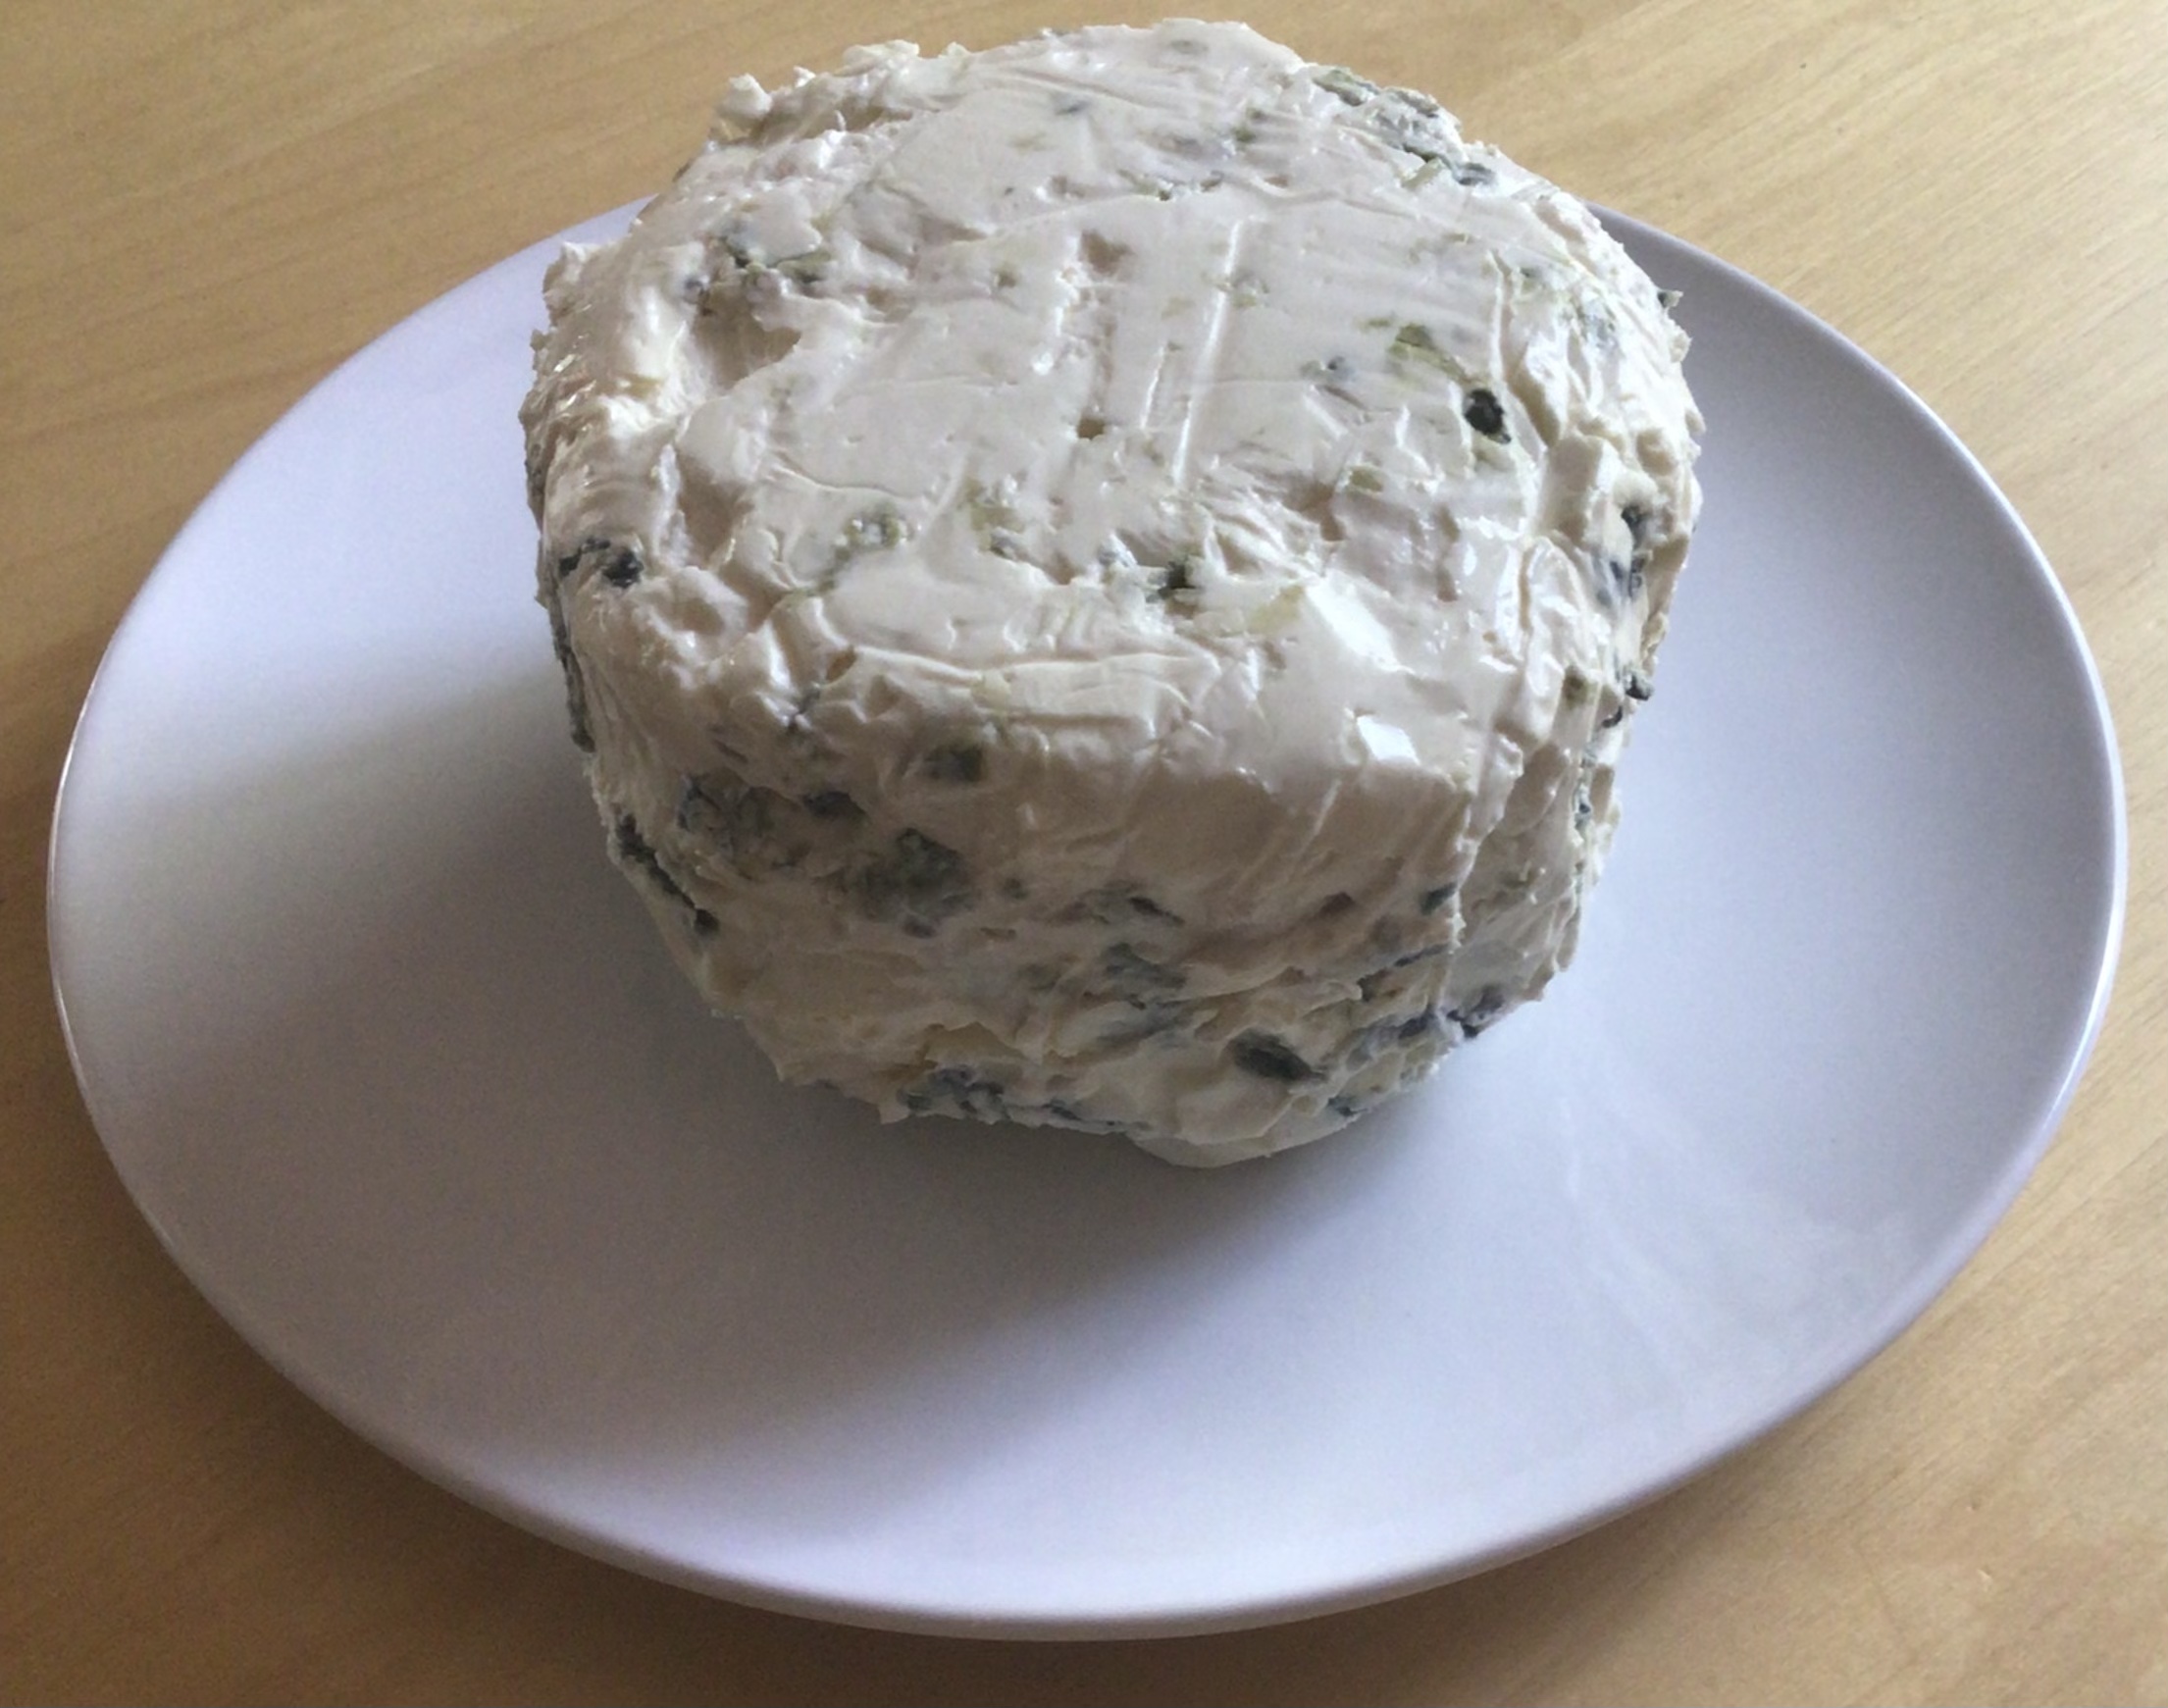
  • Now we will create the passages for oxygen to get inside the cheese to form blue mold inside by taking a clean skewer and inserting it from the top of the cheese to the bottom gently to create holes. I put about 20 evenly spaced holes
  • Now put cheese inside of a ripening box. Mine is a vegetable storage container with an strainer like insert that raises the contents off the bottom so any liquid that forms on the bottom doesn’t come in contact with what you are storing inside and a lid to seal it. Now put the storage box in the cheese cave (mine is the vegetable drawer of the fridge that maintains about 55 degrees F). Leave this in the ripening cave for 3 weeks, Flipping the cheese over once a day removing any condensation and liquid on the bottom of the container. It should have a blue mold form covering the surface of cheese after about a week. This mold covering may slip while you are flipping it so be very gentle to keep it in tact.
  • Remove the cheese from the cave now and gently using a flat blade scrape most of the mold off the surface of the cheese leaving little spots here and there. Be careful to just remove the mold and not the cheese.
  • Wrap the cheese in foil and store in the fridge (not the cheese cave) for 3 more weeks to mature.
  • After the 3 weeks in the fridge the cheese is ready to eat. You can cut in half and re-wrap one half and put it in the fridge and use the other half to eat. The half you are eating can be wrapped in plastic wrap instead of the foil since it won’t be stored for too long.

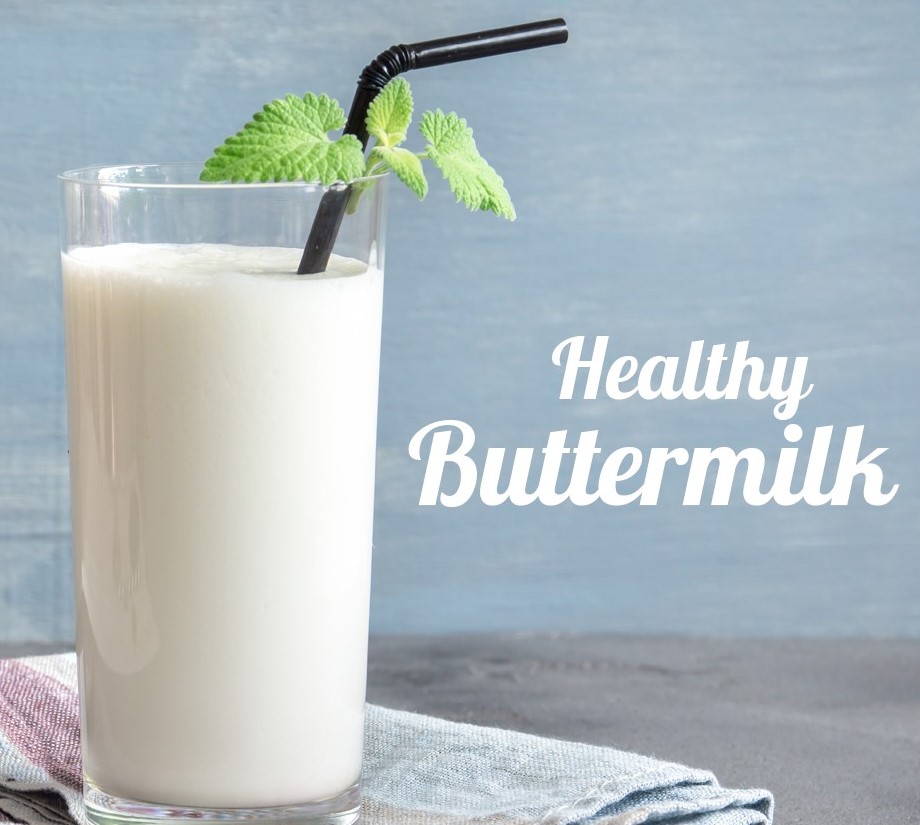
Making Your Own Cultured Buttermilk

Making your own cultured buttermilk is easy and takes only a couple of minutes. You just need to get a buttermilk culture and some milk.

Ingredients

  • Buttermilk Culture: Store bought Buttermilk, or a Culture. (amazon link)
  • Milk: Either 2% or whole milk for more creamy Buttermilk.

Directions

If using store bought buttermilk to culture, just mix about 1 cup of buttermilk to 3 cups milk shake/mix and let set at room temp (72-82F) for 12-16 hours till buttermilk is as think as you like. Then refrigerate and it will say good for 1-3 weeks. If you re-culture (take 1 cup of the buttermilk and follow the same process as above) it will last another 1-3 weeks in the fridge.

If using a buttermilk culture, bring 1 qt milk up to room temp (72-82F) then sprinkle culture onto milk and let rehydrate for 1-2 minutes. Then shake and let set at room temp for 12-16 hours as above.

Notes:

I used 1 quart of store bought cultured buttermilk and used all but 1 cup of the buttermilk, then poured milk into the quart milk container, mixed by shaking and then let set at room temp for 12 hours.

You can make a substitute for cultured buttermilk by adding 1 tablespoon of lemon juice or white vinegar to 1 cup of milk, mixing and it will create milk that is similar to cultured buttermilk which is made with a culture similar to yogurt.

You can use your homemade buttermilk to make fresh easy to make cheese.

Fresh Garlic Chive Buttermilk Cheese Recipe

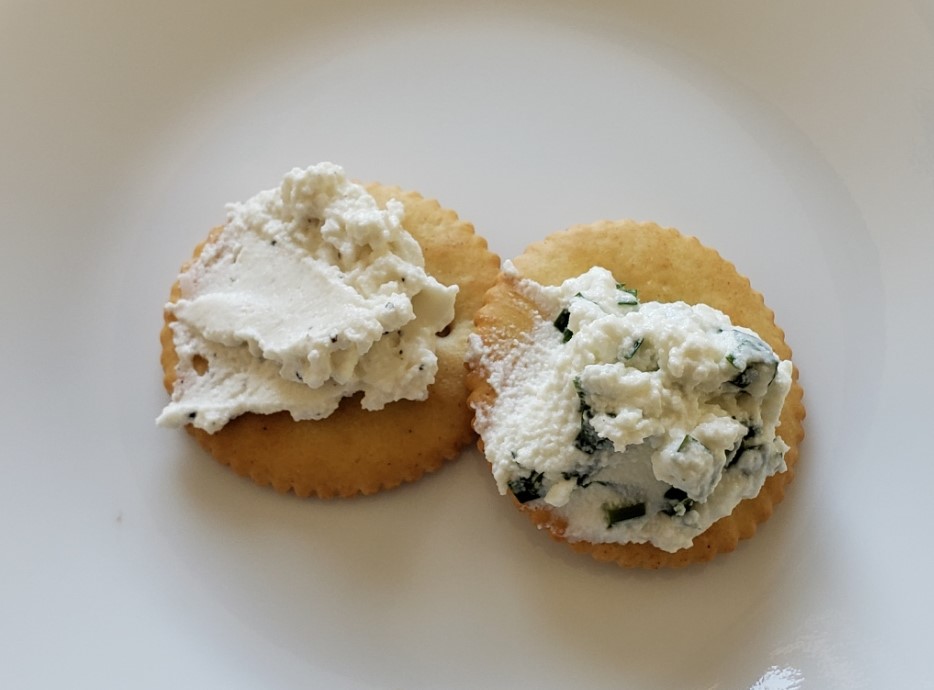
I have made a few cheeses already. Those have been more difficult cheeses such as cheddar, blue cheese, and mozzarella. This cheese is much easier and less time consuming than the ones mentioned above, doesn’t require any special equipment and tastes incredible. It is a soft spreadable cheese and requires no aging. Pictured are the Garlic Chive flavor and the Black Pepper flavor.

Ingredients

  • 3 cups of cultured buttermilk
  • 2 quarts of Whole milk
  • 1 bunch of garlic chives (Can use regular chives & garlic powder)
  • 1 teaspoon of onion powder
  • 1 teaspoon of garlic powder if using regular chives
  • 4 teaspoons kosher salt

Directions

Pour buttermilk (you can culture your own buttermilk easily) and milk into pot and heat to about 90 degrees F. Let set for an hour, I did this to culture the regular milk into buttermilk to a small degree. After the hour culturing, Add in onion powder (and garlic powder if using regular chives) and chives. Heat over medium heat while stirring slowly until it gets close to 180 degrees. When it does reach 180 degrees F, you will see it curdle. At this point remove from heat and per set for about 30 mins to fully curdle. Then scoop into a colander lined within a doubled over cheese cloth till all the contents of the pot have been spooned into the cheese cloth. Now gather the corners of the cheese cloth and lift by the corners and twist to squeeze out the whey (liquid) until it is mostly out. Spoon the cheese that is in the cheese cloth to a container and enjoy. Store in the refrigerator in a sealed container for up to 2 weeks, if it lasts that long.

Lechoen Manok Chicken Wings

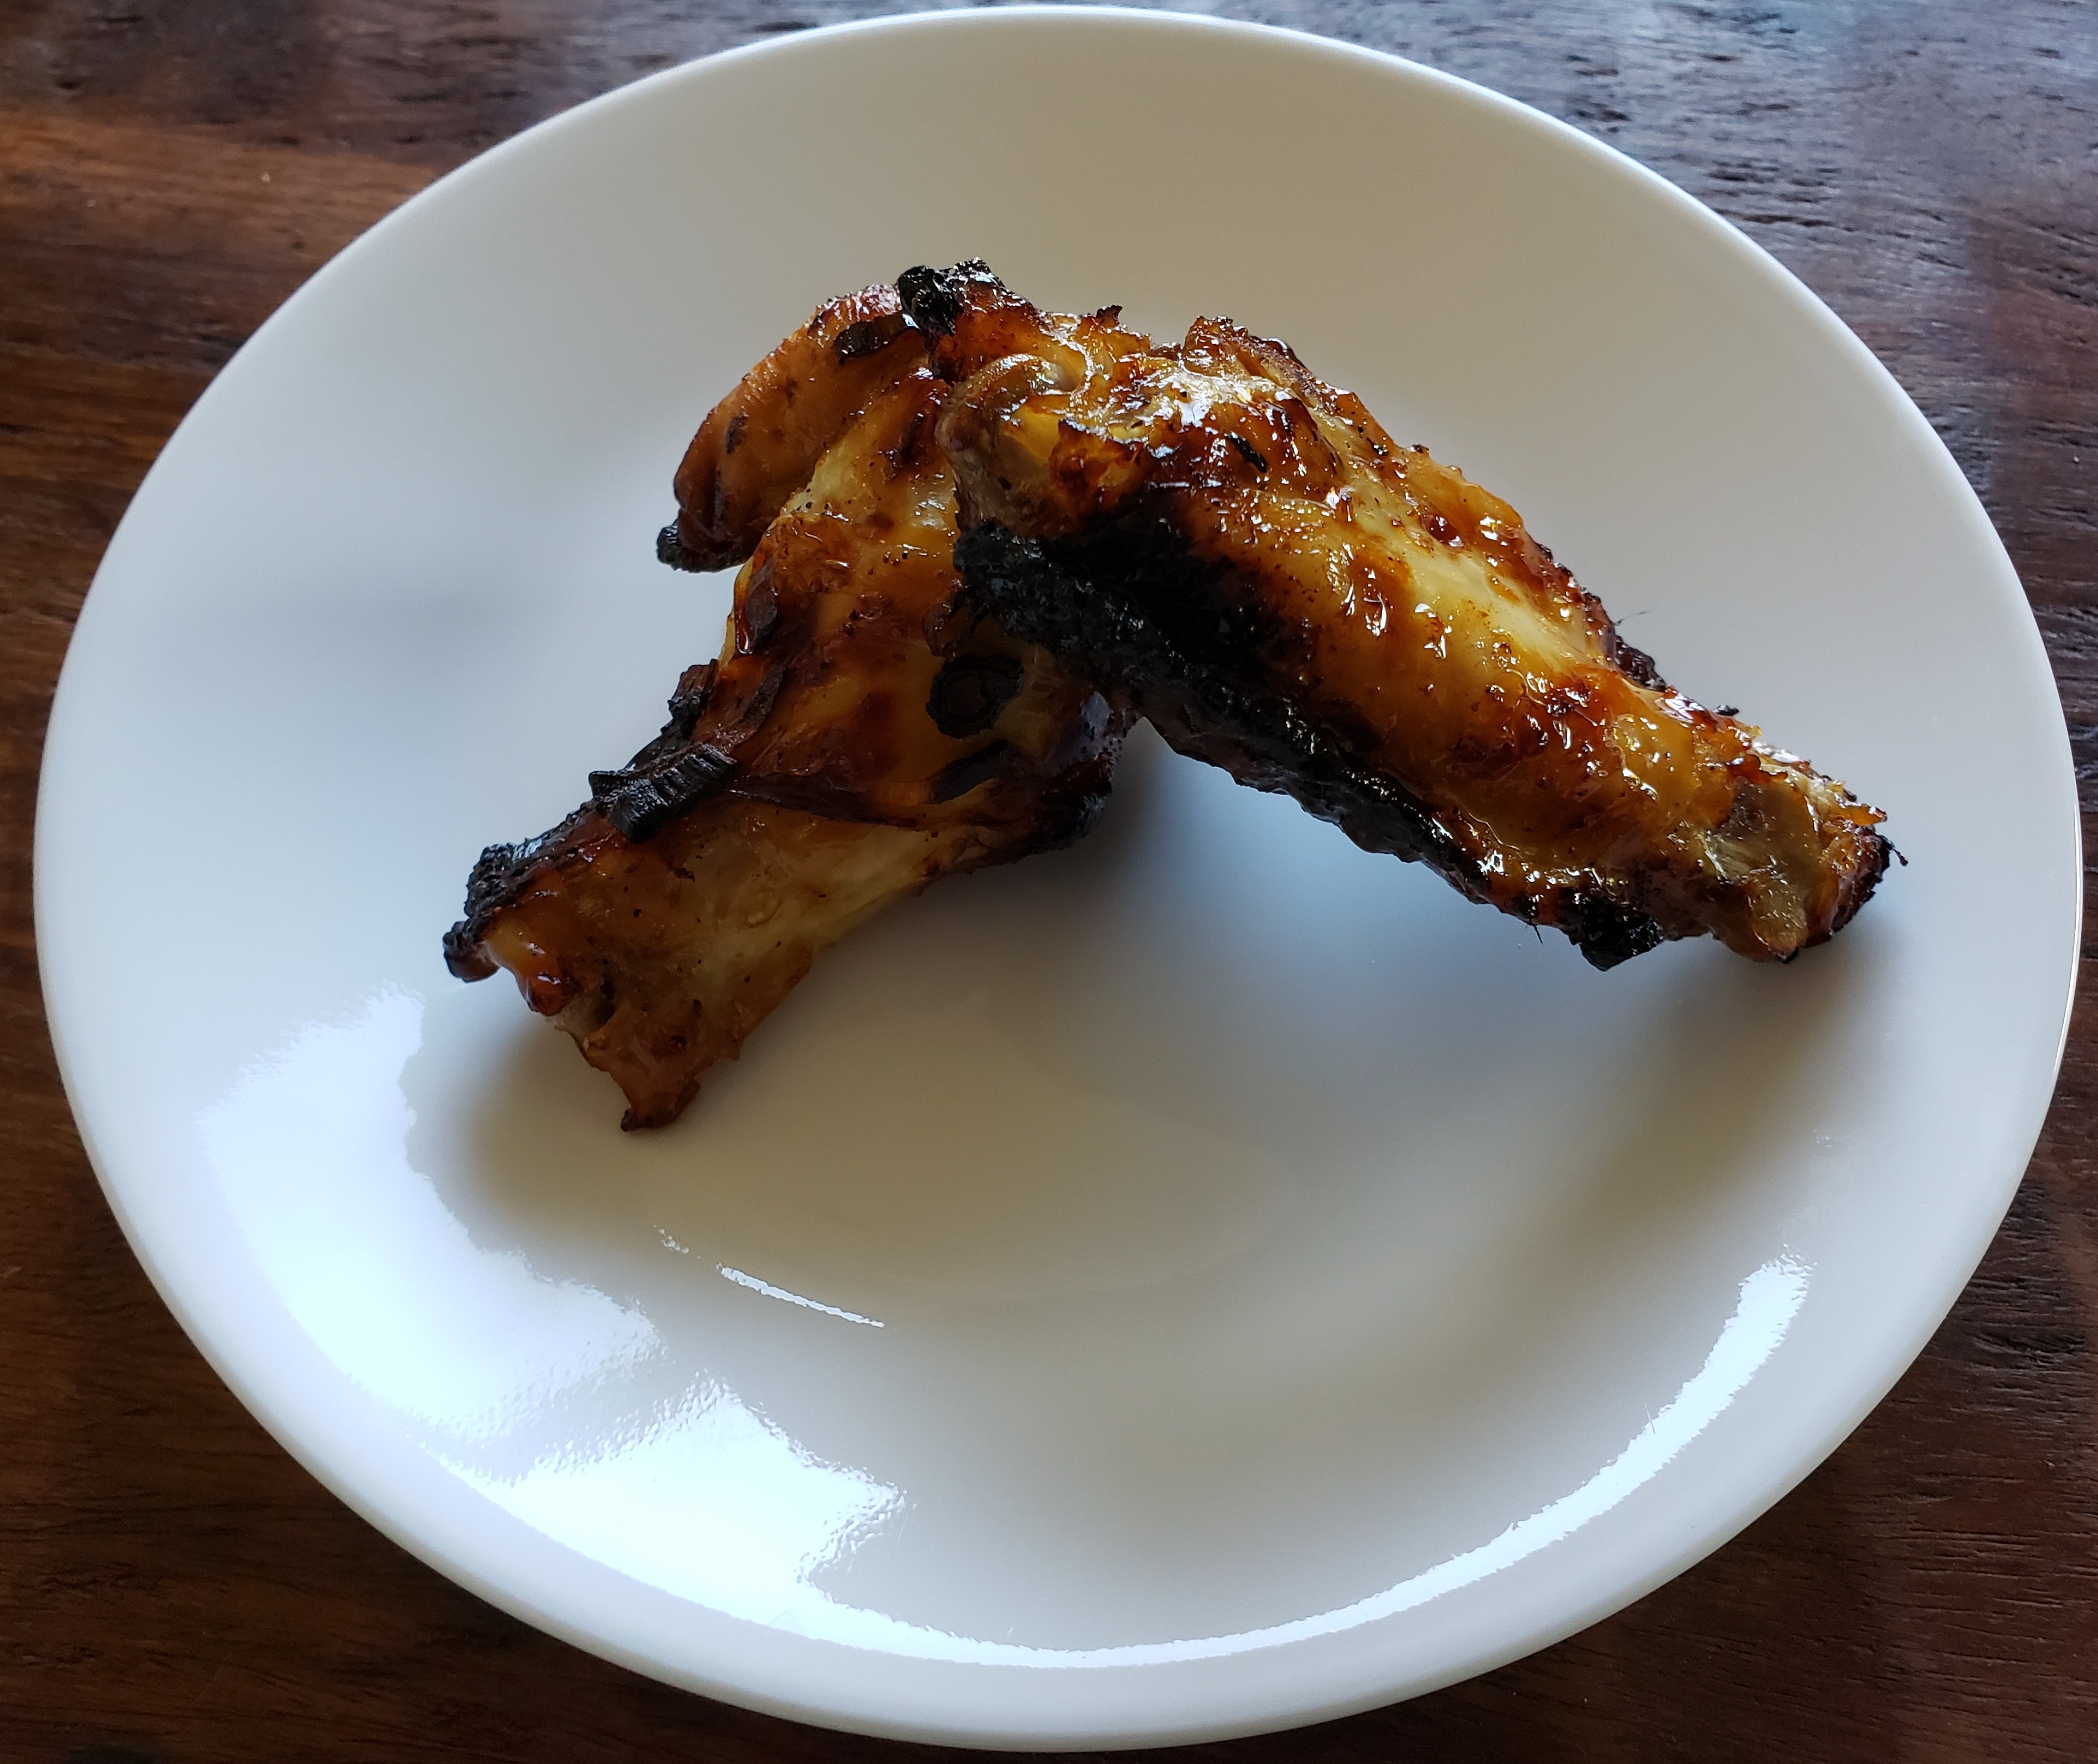
These are Filipino chicken wings. Lechoen Manok is usually done for a whole roasted chicken but I came up with my own spin for Chicken wings. I cooked them in an air fryer, but you could bake them in the oven or grill them also.

Ingredients

  • 12 chicken wings
  • 1 Cup of Regular Sprite (NOT Diet)
  • 5 cloves of garlic smashed
  • 4 Tablespoons of brown sugar
  • 4 green onions chopped or 1/2 yellow onion diced
  • Juice from 1/2 regular sized lemon
  • 1″ piece of ginger sliced across the grain
  • 6 tablespoons of soy sauce
  • 1 tablespoon of fish sauce
  • 1 teaspoon of course ground black pepper

Directions

Put chicken wings into a ziploc bag. Mix all the other ingredients in a bowl and add to ziploc bag with chicken wings and let marinade for at least 4 hours. Remove wings from marinade and pat dry.

For Air Fryer: Put into Air Fryer and set temp for 390 degrees Fahrenheit and cook for about 20 mins (optionally basting w/marinade after 10 mins for extra flavor) or until they are as crispy and tender as you like.

For Oven: Put into oven on a rimmed cookie sheet with a cooling rack on it to put the wings on. Put the cookie sheet with the wings on the rack in the oven at 325 degrees Fahrenheit and cook for 20 mins, then drain the oil from the cookie sheet and put the wings on the rack back on the cookie sheet and put back in the oven with the temp at 350 degrees for 10 mins after basting with marinade or until they are done to your liking.

For Grill: Grill Chicken wings as you would any piece of chicken, but remember since they are small they will be done sooner. Also you may see the drums take longer than the flats because there is more bone in them.

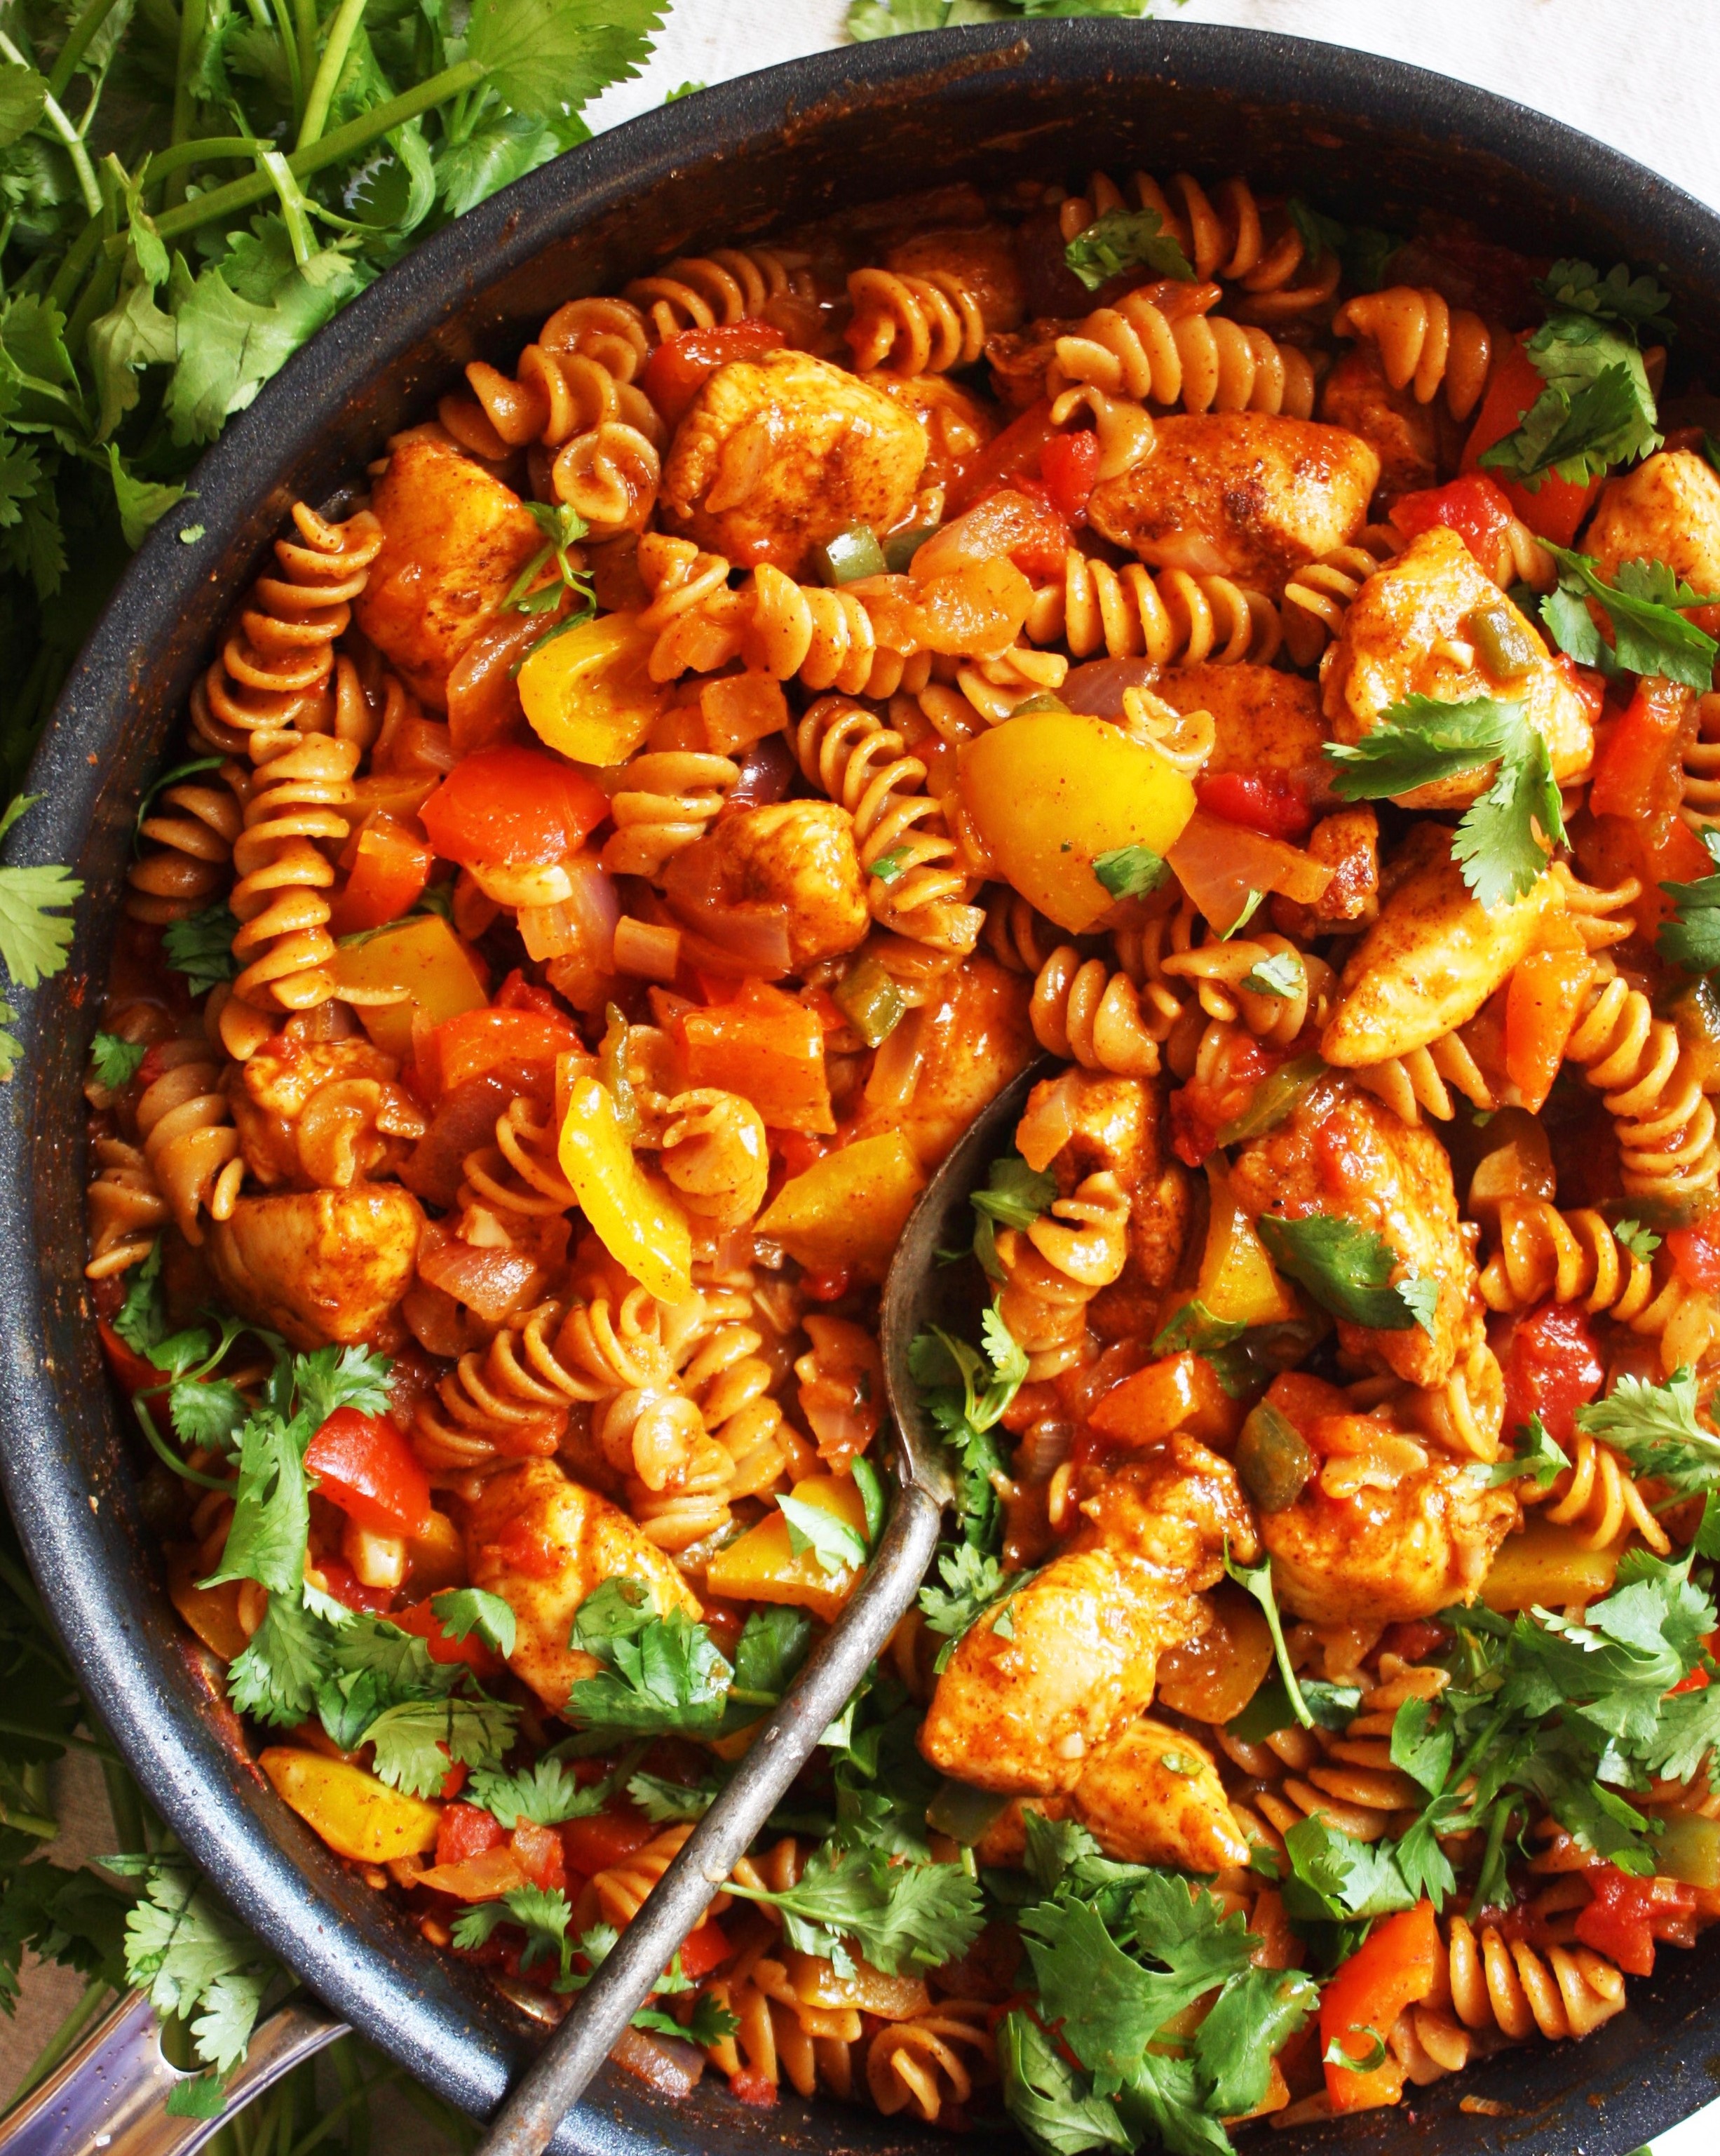
Mexican Chicken Pasta

This is a delicious, quick and easy meal to make for a weekday meal when you are busy and don’t have a lot of time to spend cooking.

Ingredients

  • 2 tablespoons extra-virgin olive oil1lb chicken breast, finely diced
  • 1 tablespoons chili powder
  • 1 tablespoons ground cumin
  • 1 teaspoon garlic salt
  • 1/2 teaspoon crushed red pepper
  • 1/2 large red bell pepper, diced
  • 1 can (10.5 oz.) cream of mushroom soup
  • 1/2 cup milk
  • 1 lb. any type of pasta
  • 2 cups shredded cheddar cheese
  • 1/4 cup cilantro, for garnish

Directions

  • Heat the oil in a medium skillet over medium high. Add the chicken and sauté until browned all over, 5 minutes
  • Toss in the chili powder, cumin, garlic salt and red pepper. Sauté another minute. Add the red bell pepper, cream of mushroom soup and milk and stir to combine.
  • Transfer to an oven-safe baking dish and sprinkle with the cheese. Cover and slide into a 350°F oven. Bake for 20 minutes. Uncover and bake 20 more minutes, until the cheese is browned and bubbly

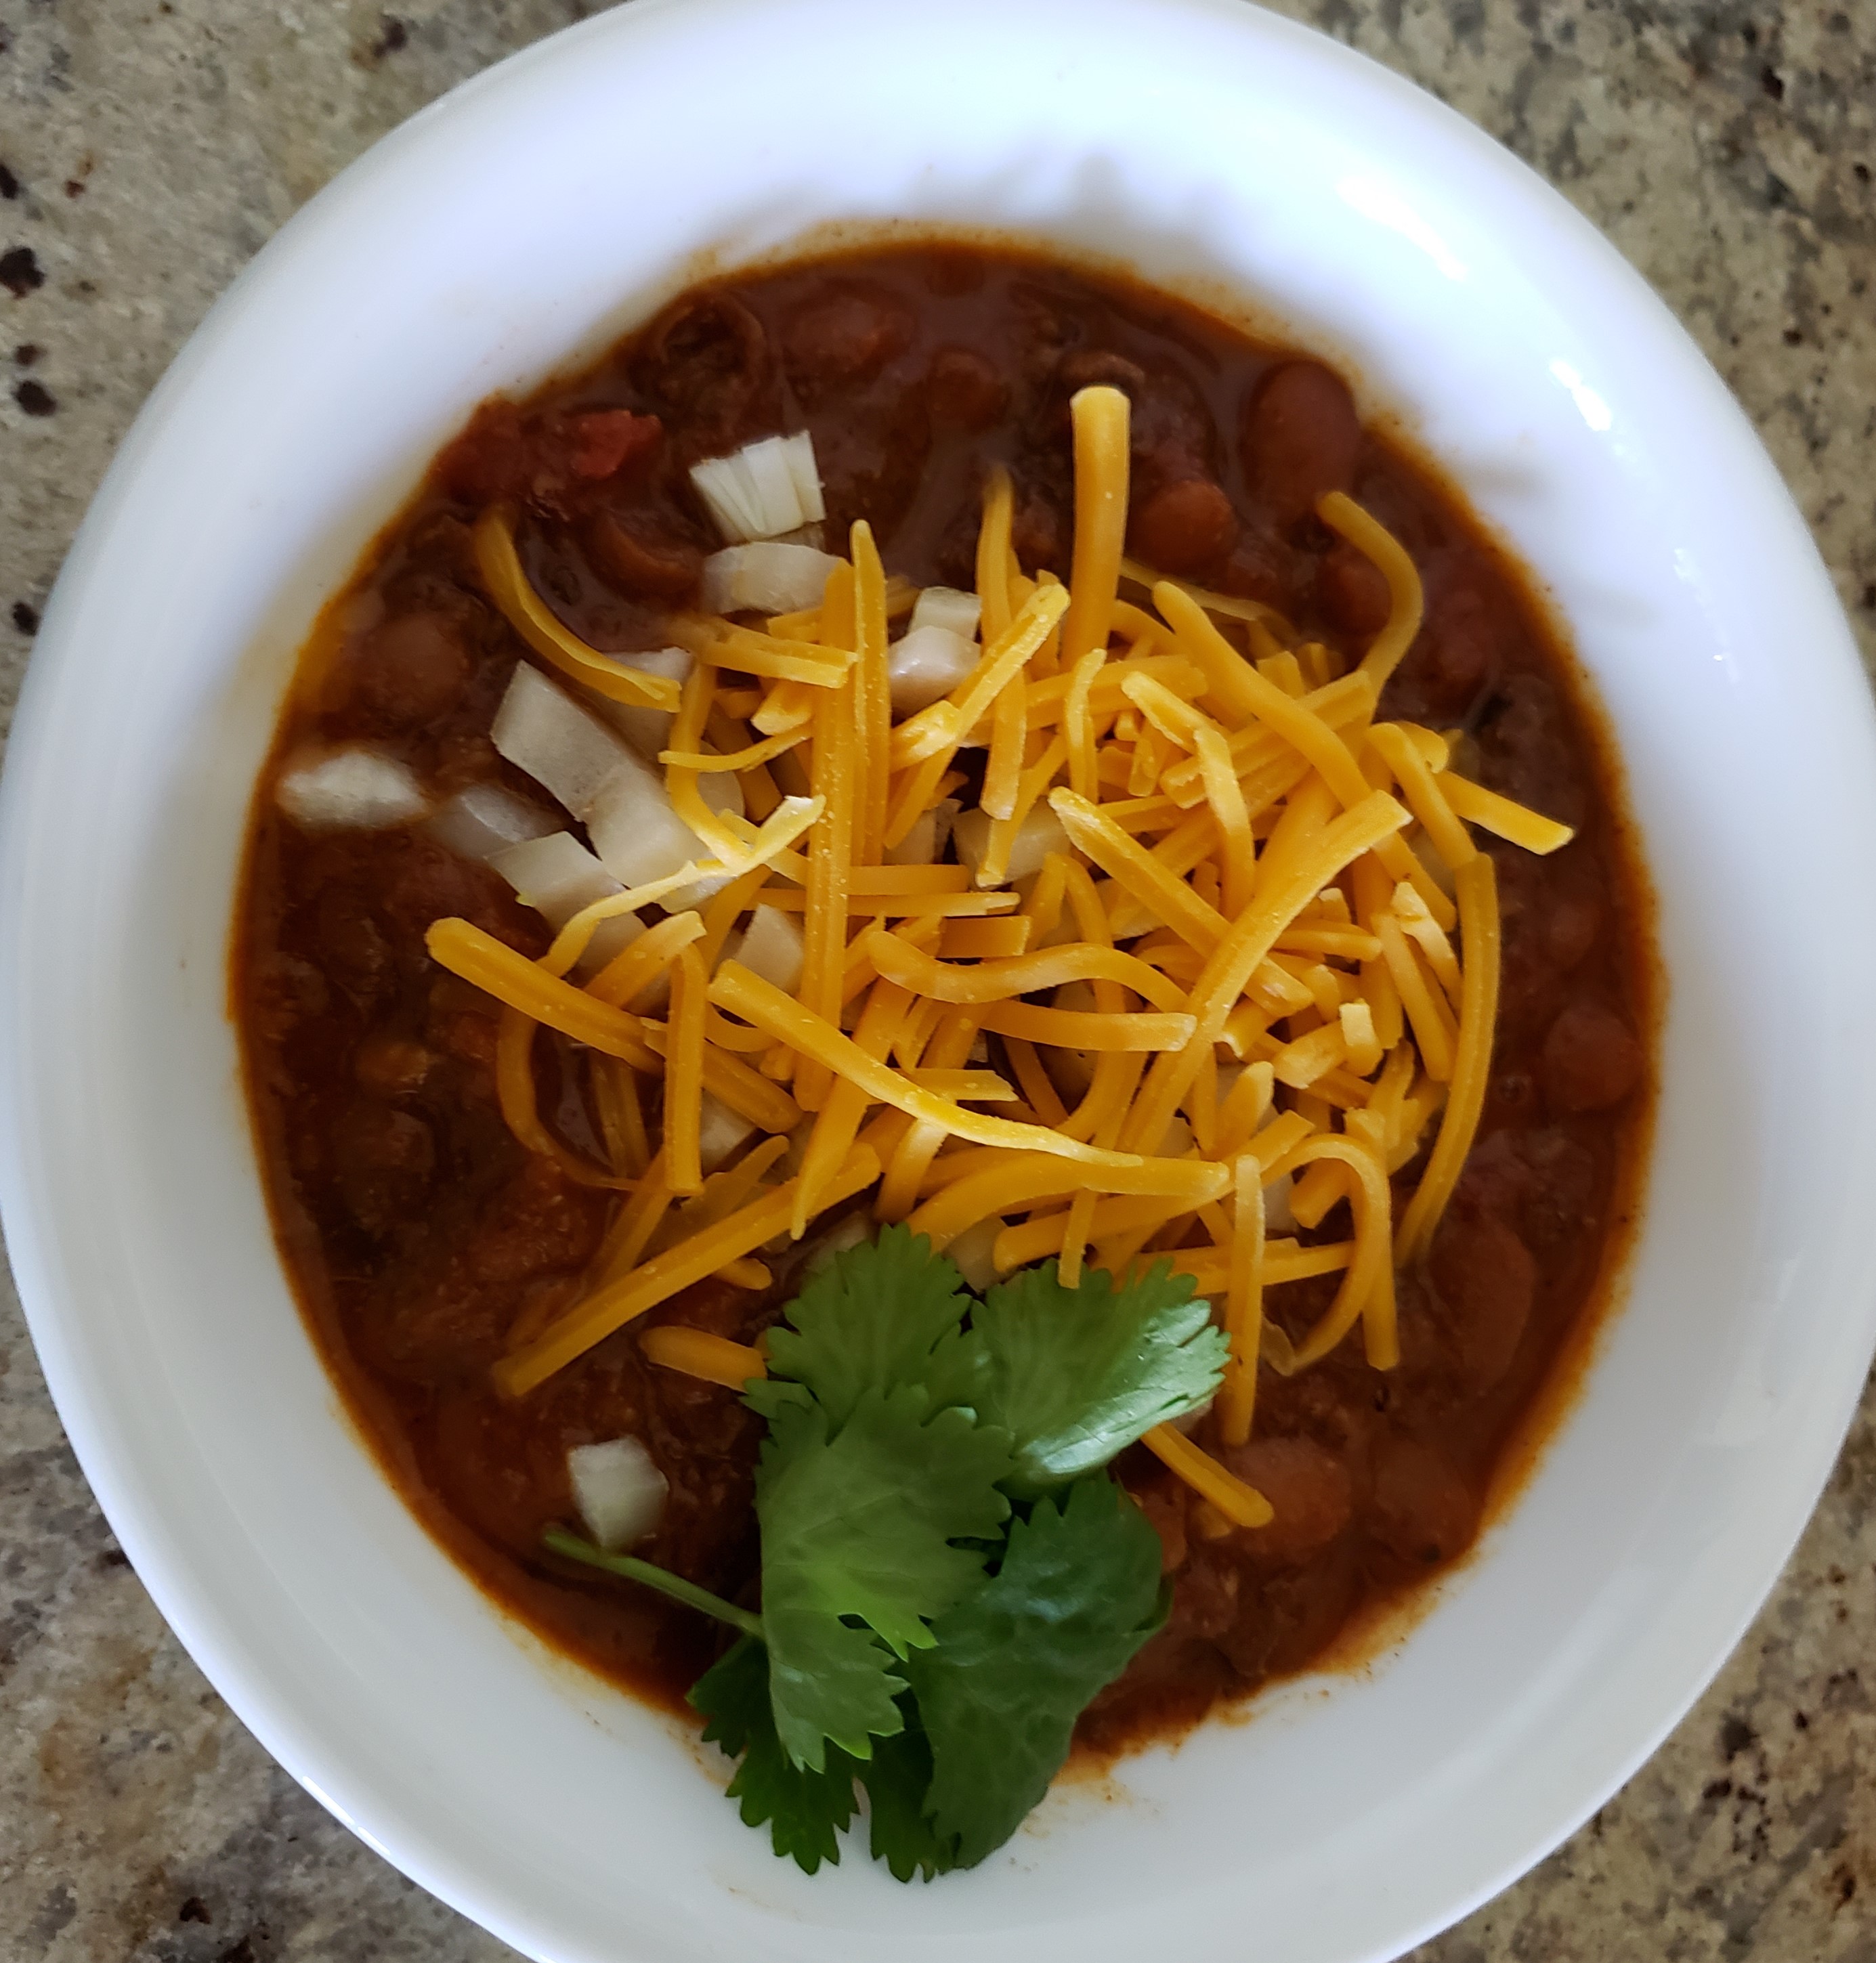
Healthy Instant Pot Elk Meat Chili

A friend gave me some of the elk meat from his last hunt. This meat is very lean and can be pretty tough. Cooking it in the instant pot makes it nice and tender. I wanted a hearty meal so I came up with this recipe from the items I had in my pantry and it came out great.

Ingredients

  • 1.5 pounds elk meat (Round steak) chopped into 1 to 1/2″ chunks
  • 2 tbsp. oil (Canola, Vegetable, or Corn oil)
  • 3 slices of finely diced bacon
  • 1 – 14 oz. cans of stewed tomatoes
  • 1 – 8 oz. can of tomato sauce
  • 1/2 – 6 oz. can of tomato paste
  • 2 cups of pinto beans (soaked overnight)
  • 6 cloves of garlic
  • 1 bell peppers diced (Green or Red)
  • 1 onions, diced
  • 2 tbsp. New Mexico chili powder
  • 1 tbsp. cumin
  • 1/2 tsp of oregano
  • 1 tsp of basil
  • 2 tsp salt
  • 2 tbsp. Worcestershire
  • 1 tsp of crushed red chilies (I used 3 extra hot dried cayenne peppers crushed)
  • 3 tsp beef bullion powder
  • 4 cups of water
  • Additional Garlic & Onion powder and salt to taste (I added about 1 tsp of Garlic and Onion powder)

Directions

Night before, put pinto beans in bowl covered by 3″ of water. When ready to cook, set Instant Pot to sauté and add oil and Elk meat, bacon and sprinkle with 1/2 tsp of salt and 1/4 of the diced garlic. Sauté till browned. Then add in tomato sauce and paste, chili powder, cumin, oregano, basil, Worcestershire sauce, beef bullion, and red chilies and stir. Set Instant pot to pressure cook high and cook for 40 mins. When done do quick pressure release, open instant pot and stir in the rest of the ingredients and then set for pressure cook high for 15 more minutes. When timer expires do quick pressure release and enjoy.

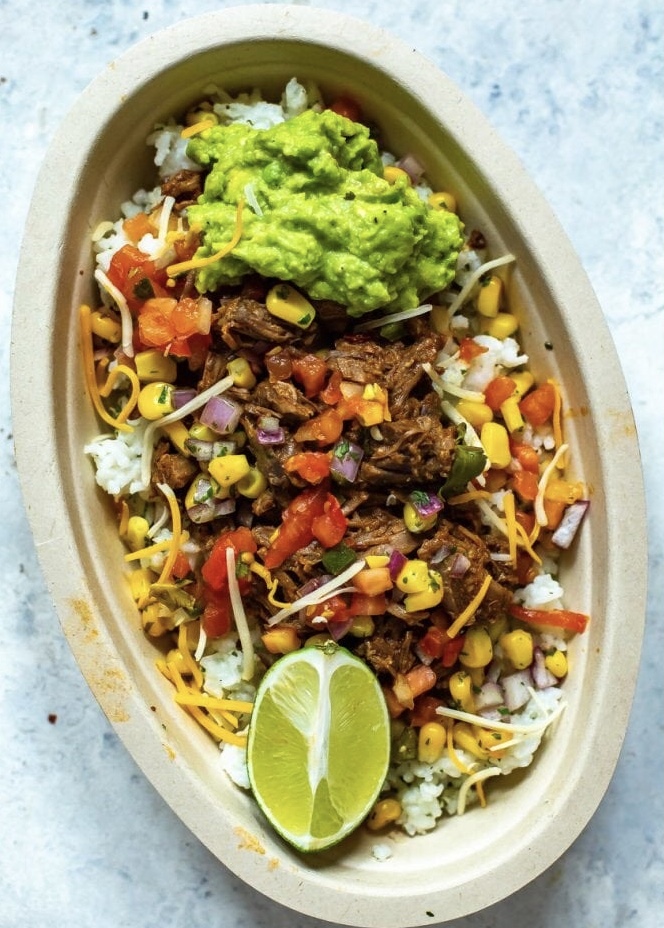
Healthy Instant Pot Barbacoa

Ingredients (barbacoa):
5 cloves garlic
1/2 medium onion chopped
1 lime, juice
3 chiptoles in adobo sauce
1 tbsp ground cumin
1 tbsp ground oregano
1/4 tsp ground cloves
1 cup water
3 – 4 lbs beef cross rib roast 5″ chopped into large chunks
1 1/2 teaspoons kosher salt
black pepper
1 tsp oil
3 bay leaves

Ingredients (Toppings)

  • Cooked rice for Barbacoa bowls or tortillas to make tacos
  • Sliced greeen onions
  • Diced red onions 
  • Avacado diced
  • Cilantro chopped
  • Tomatos diced
  • Sour cream
  • Frozen corn microwaved 3 to 4 mins to cook
  • Jalapeno cooked pinto beans (can)
  • Cheese (Monterrey Jack or Cheddar)
  • Salsa or hot sauce that you like

Set Instant Pot to saute, wait to get hot, add oil to pot and brown chunks of beef. Cancel the saute cycle when beef is browned. Add in water then beef, squeeze the lime juce over the meat, sprinkle the onion, garlic and other ingredients over the meat. Close the Instant Pot and pressure cook on high for 60-70 minutes depending on how much meat turning off the warming at the end of the pressure cook. Let the pressure naturally release. Shread and mix with sauce that forms in a bowl. Server over rice with

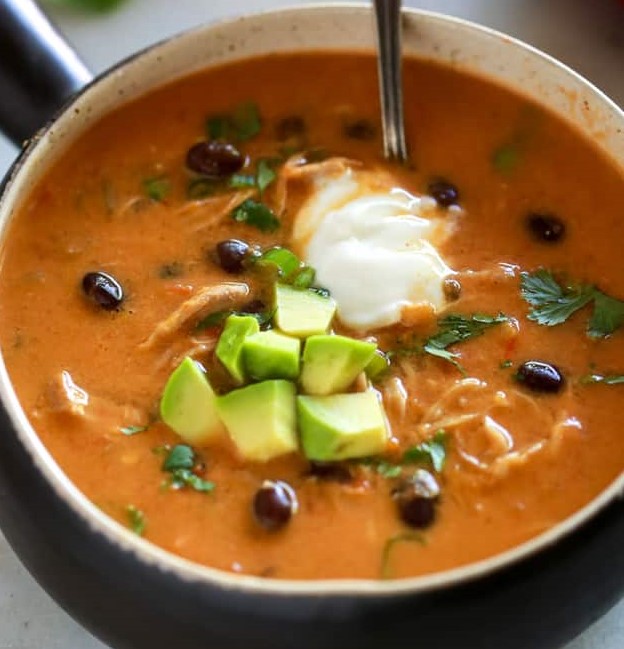
Healthier Chicken Enchilada Soup (Crock Pot/Instant Pot)

Ingredients

  • 1 can of Cream of Chicken Soup
  • 1 8 oz can of tomato sauce (low sodium if desired)
  • 2 tbsp of Chili powder (I used 1 tbsp of New mexico chili, and 1 1bsp of generic chili powder)
  • 1 tbsp of Garlic powder
  • 1/2 tbsp of cumin
  • 1 tbsp chicken bouillon
  • 1 tbsp olive oil to saute chicken
  • 1 diced red bell pepper
  • 1/2 onion diced
  • 1 can of black beans (rinsed)
  • 1 tsp Worcestershire sauce
  • 1 tsp Siracha sauce
  • 1 can of sweet corn (optional)
  • 1 lb of chicken tenders
  • 1/2 cup of sour cream
  • 1/2 cup of cheddar cheese
  • 1/2 cup of whole milk (or heavy cream for creamier soup)
  • Toppings
    • Crispy tortilla strips
    • Cilantro minced
    • Avocado diced
    • Extra shredded cheese
    • Extra sour cream

I reduced some of the sodium by not adding extra salt and used chili powder, garlic powder, and cumin rather than canned enchilada sauce. Choosing low sodium tomato sauce. You could further reduce it by using frozen corn and low sodium bouillon.

Directions

Set Instant Pot to saute and put oil, chicken, onion, and pepper. Saute for few mins. Now add rest of ingredients but sour cream, cheddar cheese, and milk to crock pot or instant pot. Cook on high pressure for 25 mins. Quick release stir in sour cream, cheddar cheese, and milk. If using a crock pot skip the saute step and cook for about 4 hours on high or 6-8 on low.

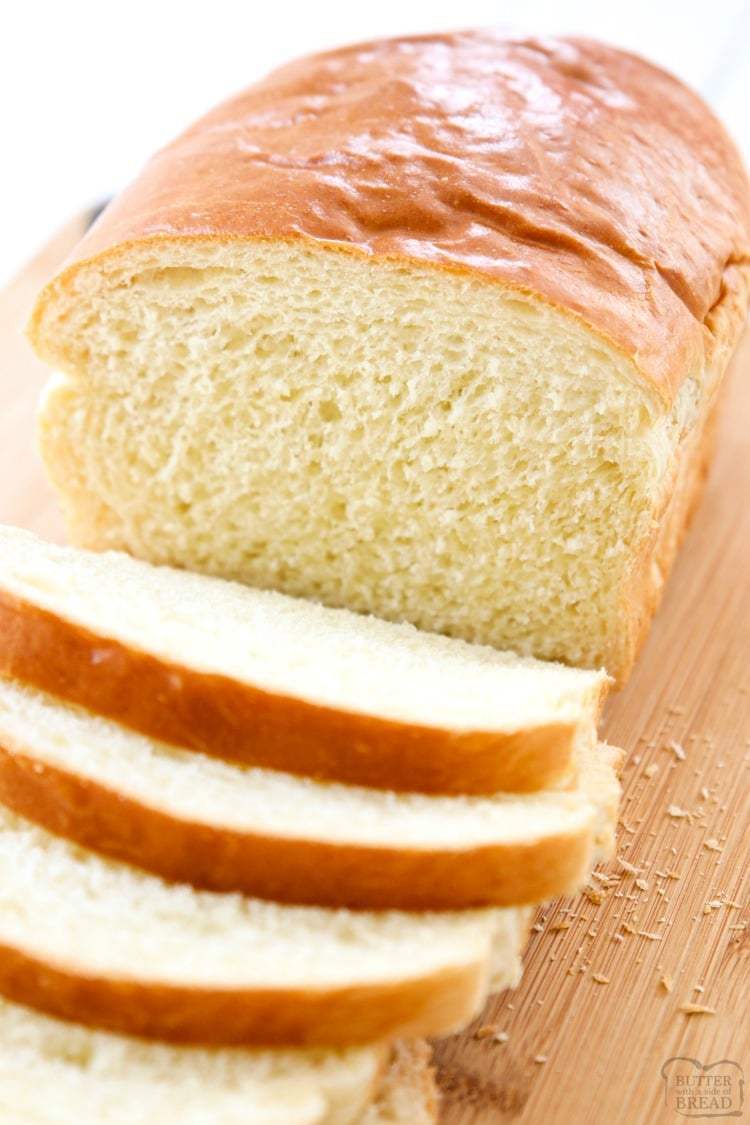
Fluffy White Bread Machine Bread

This Bread came out amazing. It had a really nice flavor, was fluffy, and incredibly moist. After cooling, I cut it and made a sandwich and it was excellent. Actually the bread greatly improved the sandwich taste.

Ingredients

  • 1 1/8 cups of hot water. (about 105 degrees F)
  • 2 teaspoons activated dry yeast
  • 3 tablespoons of sugar (I used organic)
  • 1/4 cup of vegetable oil
  • 1 teaspoon salt
  • 3 cups of white flour (I used all purpose)
  • 1/2 tablespoon butter to grease pan.

Directions

Add sugar into bread maker, then add hot water, followed by yeast. Let set for 5 minutes till frothy. Then add in flour salt and vegetable oil. Set for Dough setting if you want to bake in loaf pan (this is what I did). When dough cycle done, add into greased loaf pan. I used a long loaf pan (12 “), let rise for 30-40 mins till it rises above the top of the pan. While the bread is rising preheat the oven to 325 degrees F with a pan in the shelf below the bread pan in the oven to add about 1/4 cup of water when the bread goes in the oven. Add water and loaf pan with risen bread and bake for approx 30-35 minutes. Check temperature using a probe thermometer. Should be at least 190 degrees F in center to be completely cooked. Take bread out of the oven and immediately remove from pan and place on cooling rack covered with a dish towel. Let cool for 1 hour before slicing. After bread is cooled it can be halved and stored in a 1 gallon ziploc bag.

Ginger Black Refried Beans (Chino Bandito style)

  • 1 cups of dry black beans soaked overnight
  • 1 tbsp fresh grated ginger
  • 3 cloves garlic
  • 1 tsp of Caldo de pollo (dry bouillon)
  • 1/4 tsp of white pepper
  • 1/4 tsp of dry mustard
  • 3 tbsp brown sugar
  • 1 teaspoon salt
  • 3 tablespoons of olive oil
  • Enough water to cover beans 1/2″

Place the beans in a pot, and fill with enough water to cover with 2 inches or so. Bring to a boil and then let simmer for 3 hours or so, stirring occasionally. Add in all other ingredients and with an immersion blender blend beans till mostly smooth.  Simmer for about 30 minutes or more till the desired thickness is achieved.