Ingredients
- 6 oz Tomato Paste
- 3 Cups filtered Water
- 2 1/2 teaspoons Cayenne Pepper
- 1 ½ tablespoon Chili Powder (I used New Mexico Red powder)
- 2 ½ teaspoon Salt
- ½ teaspoon Xanthan Gum (Can substitute Corn Starch)
- 2 teaspoon White Vinegar
- 1 teaspoon Onion Powder
- ½ teaspoon Ground Black Pepper
- 1 teaspoon Ground Cumin
- 1 teaspoon Garlic Powder
Directions
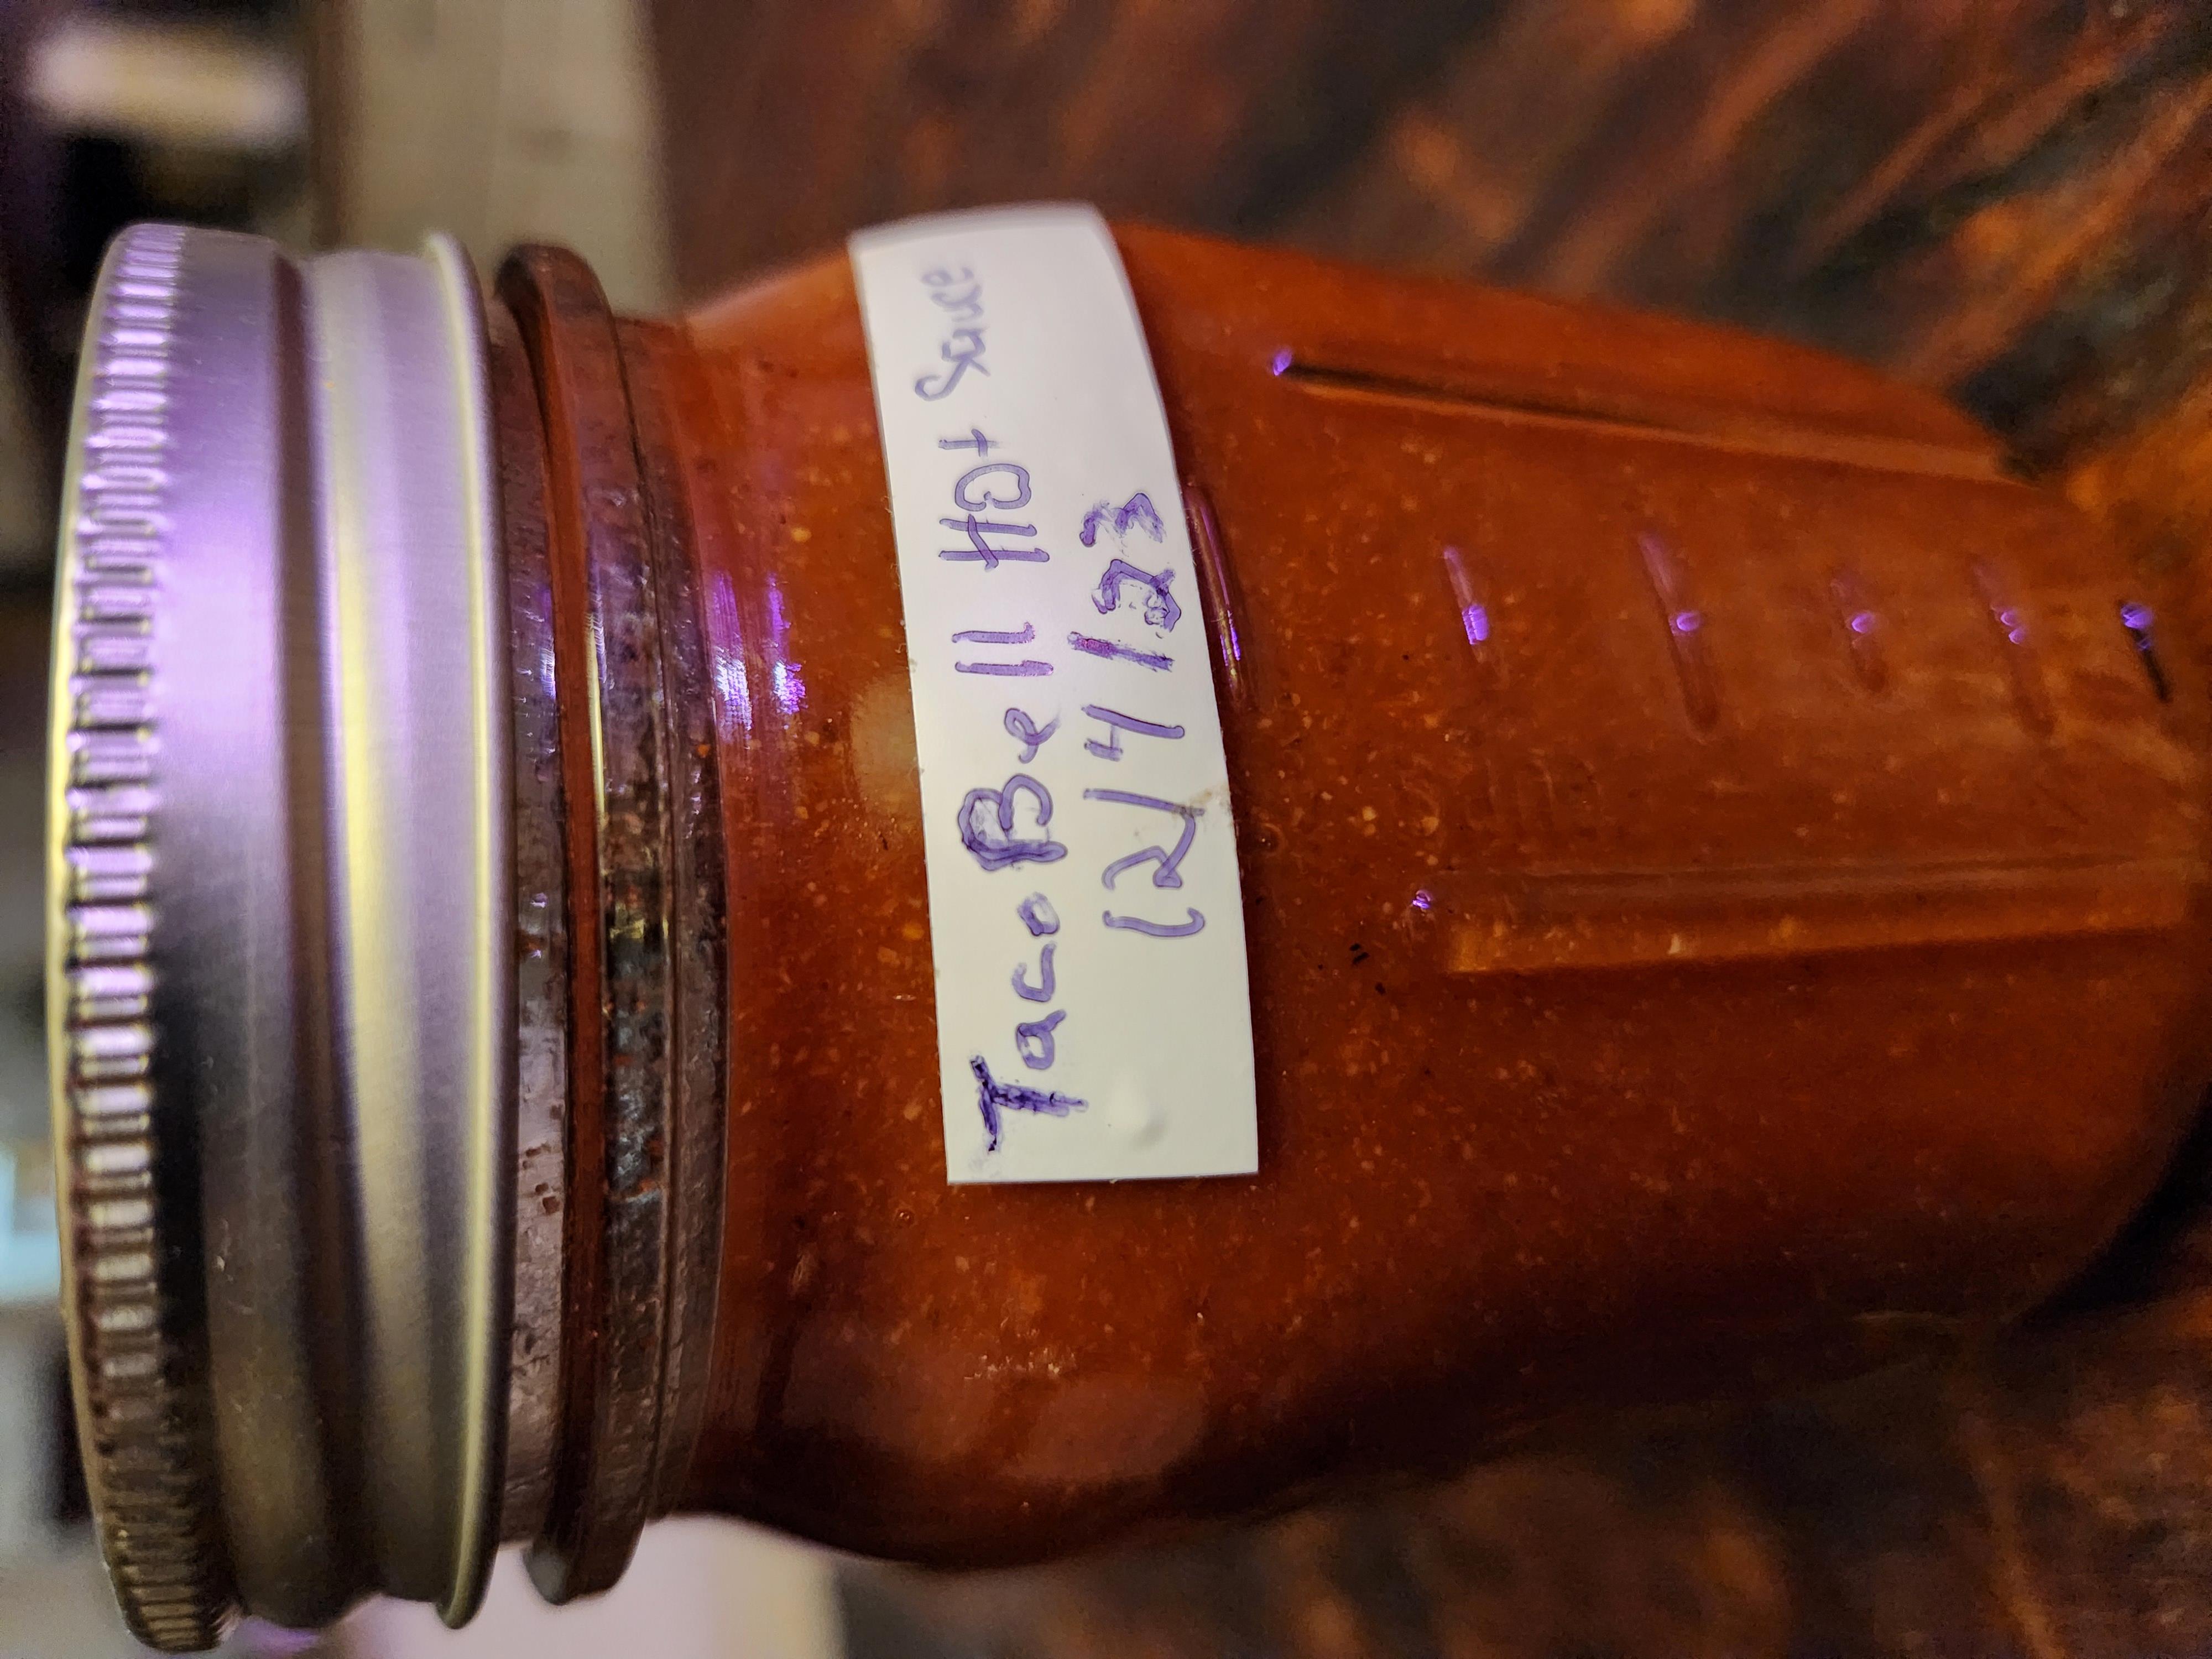
Add tomato paste to pan, add 1/2 cup of the water and mix till incorporated, then add another 1/2 cup and do the same till all but a little of the water is left (save about 3 tablespoons). Now add all the rest of the ingredients with the Xanthan Gum or Cornstarch and use the water left to mix in with it to avoid clumping then add it in. Mix everything till evenly incorporated. Heat to hot and steaming to pasteurize and this will also meld the spice flavors together. Add into Jars and keep in the refrigerator.
Note
Most of this recipe was take from Hot Rod’s Recipes and slightly adjusted. Thanks to him for a great recipe to start with. https://www.hotrodsrecipes.com/copycat-taco-bell-hot-sauce